Injection Molding
The positive was designed first, paying special attention to where we could place parting lines, sprues, runners, and making sure that adequate draft was maintained
We ended up adjusting the original design to remove the holes, and moving them to post injection operation because they added too much complexity and time to the machining portion of the project. Namely, they would’ve required over 2 hours of active milling time with a 1/32nd end mill, and we opted to swap this for a quick post-inj op instead
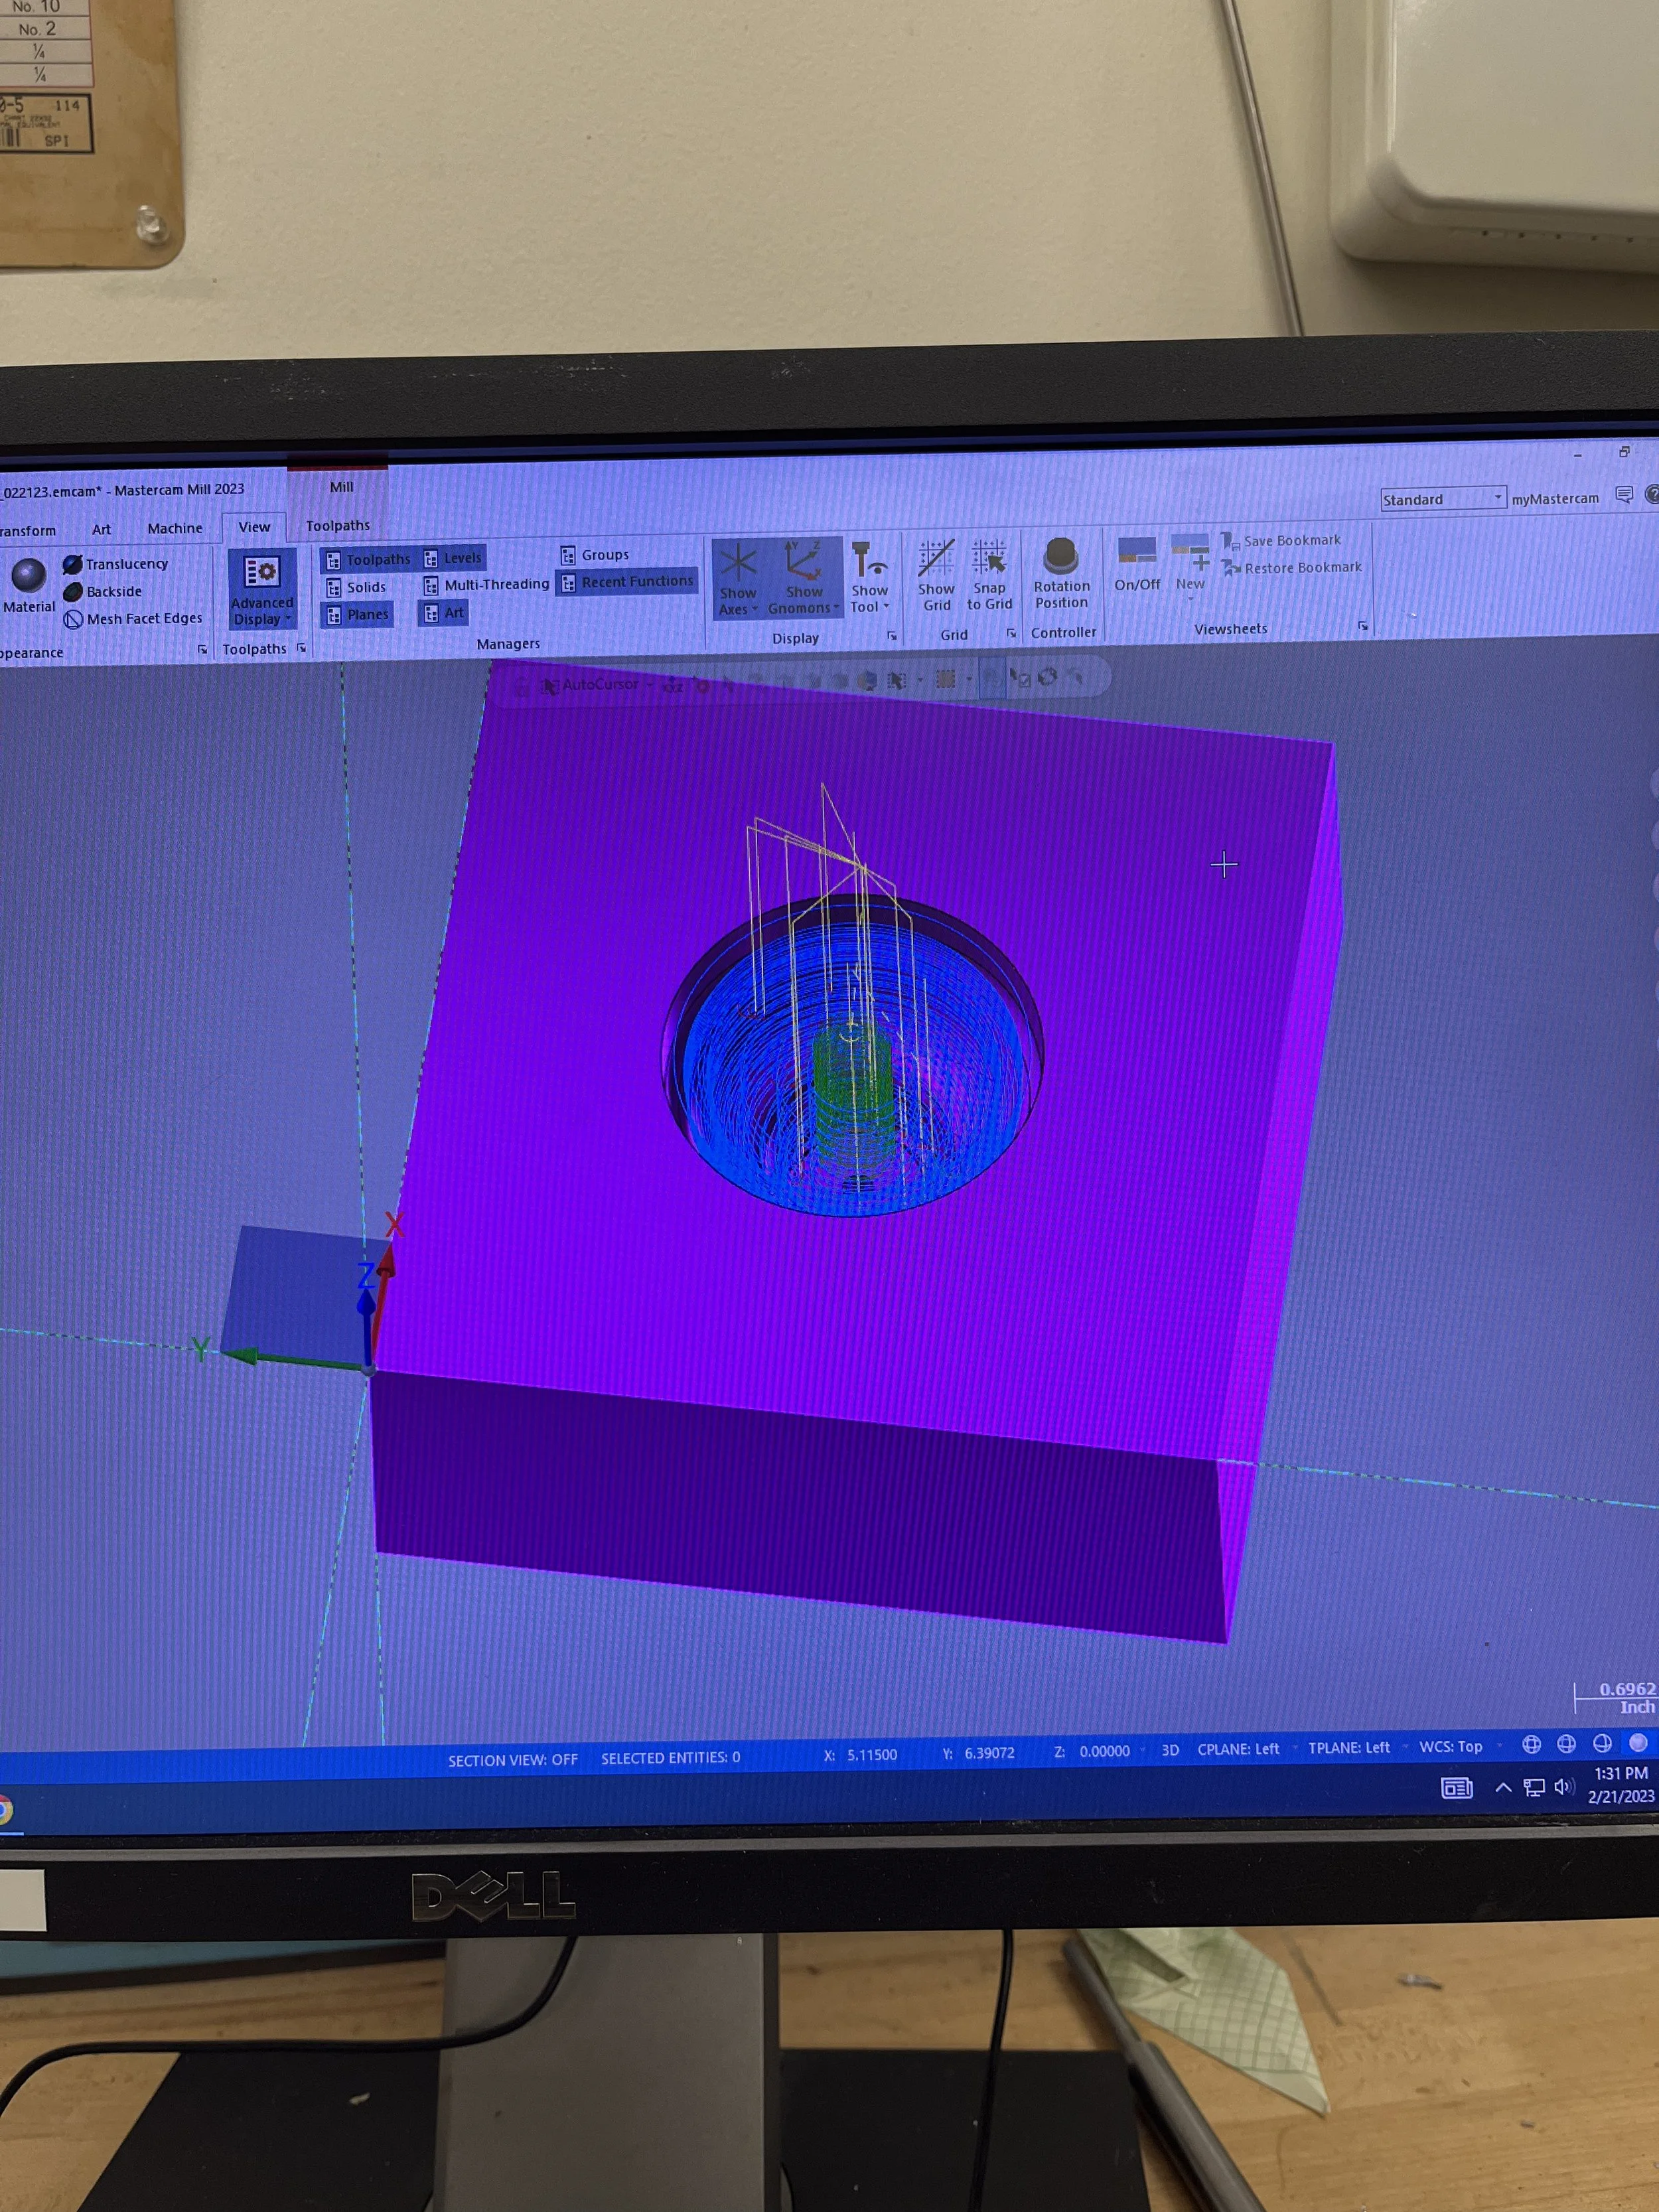
The part and mold were both designed in SolidWorks, and the gcode was generated in Mastercam
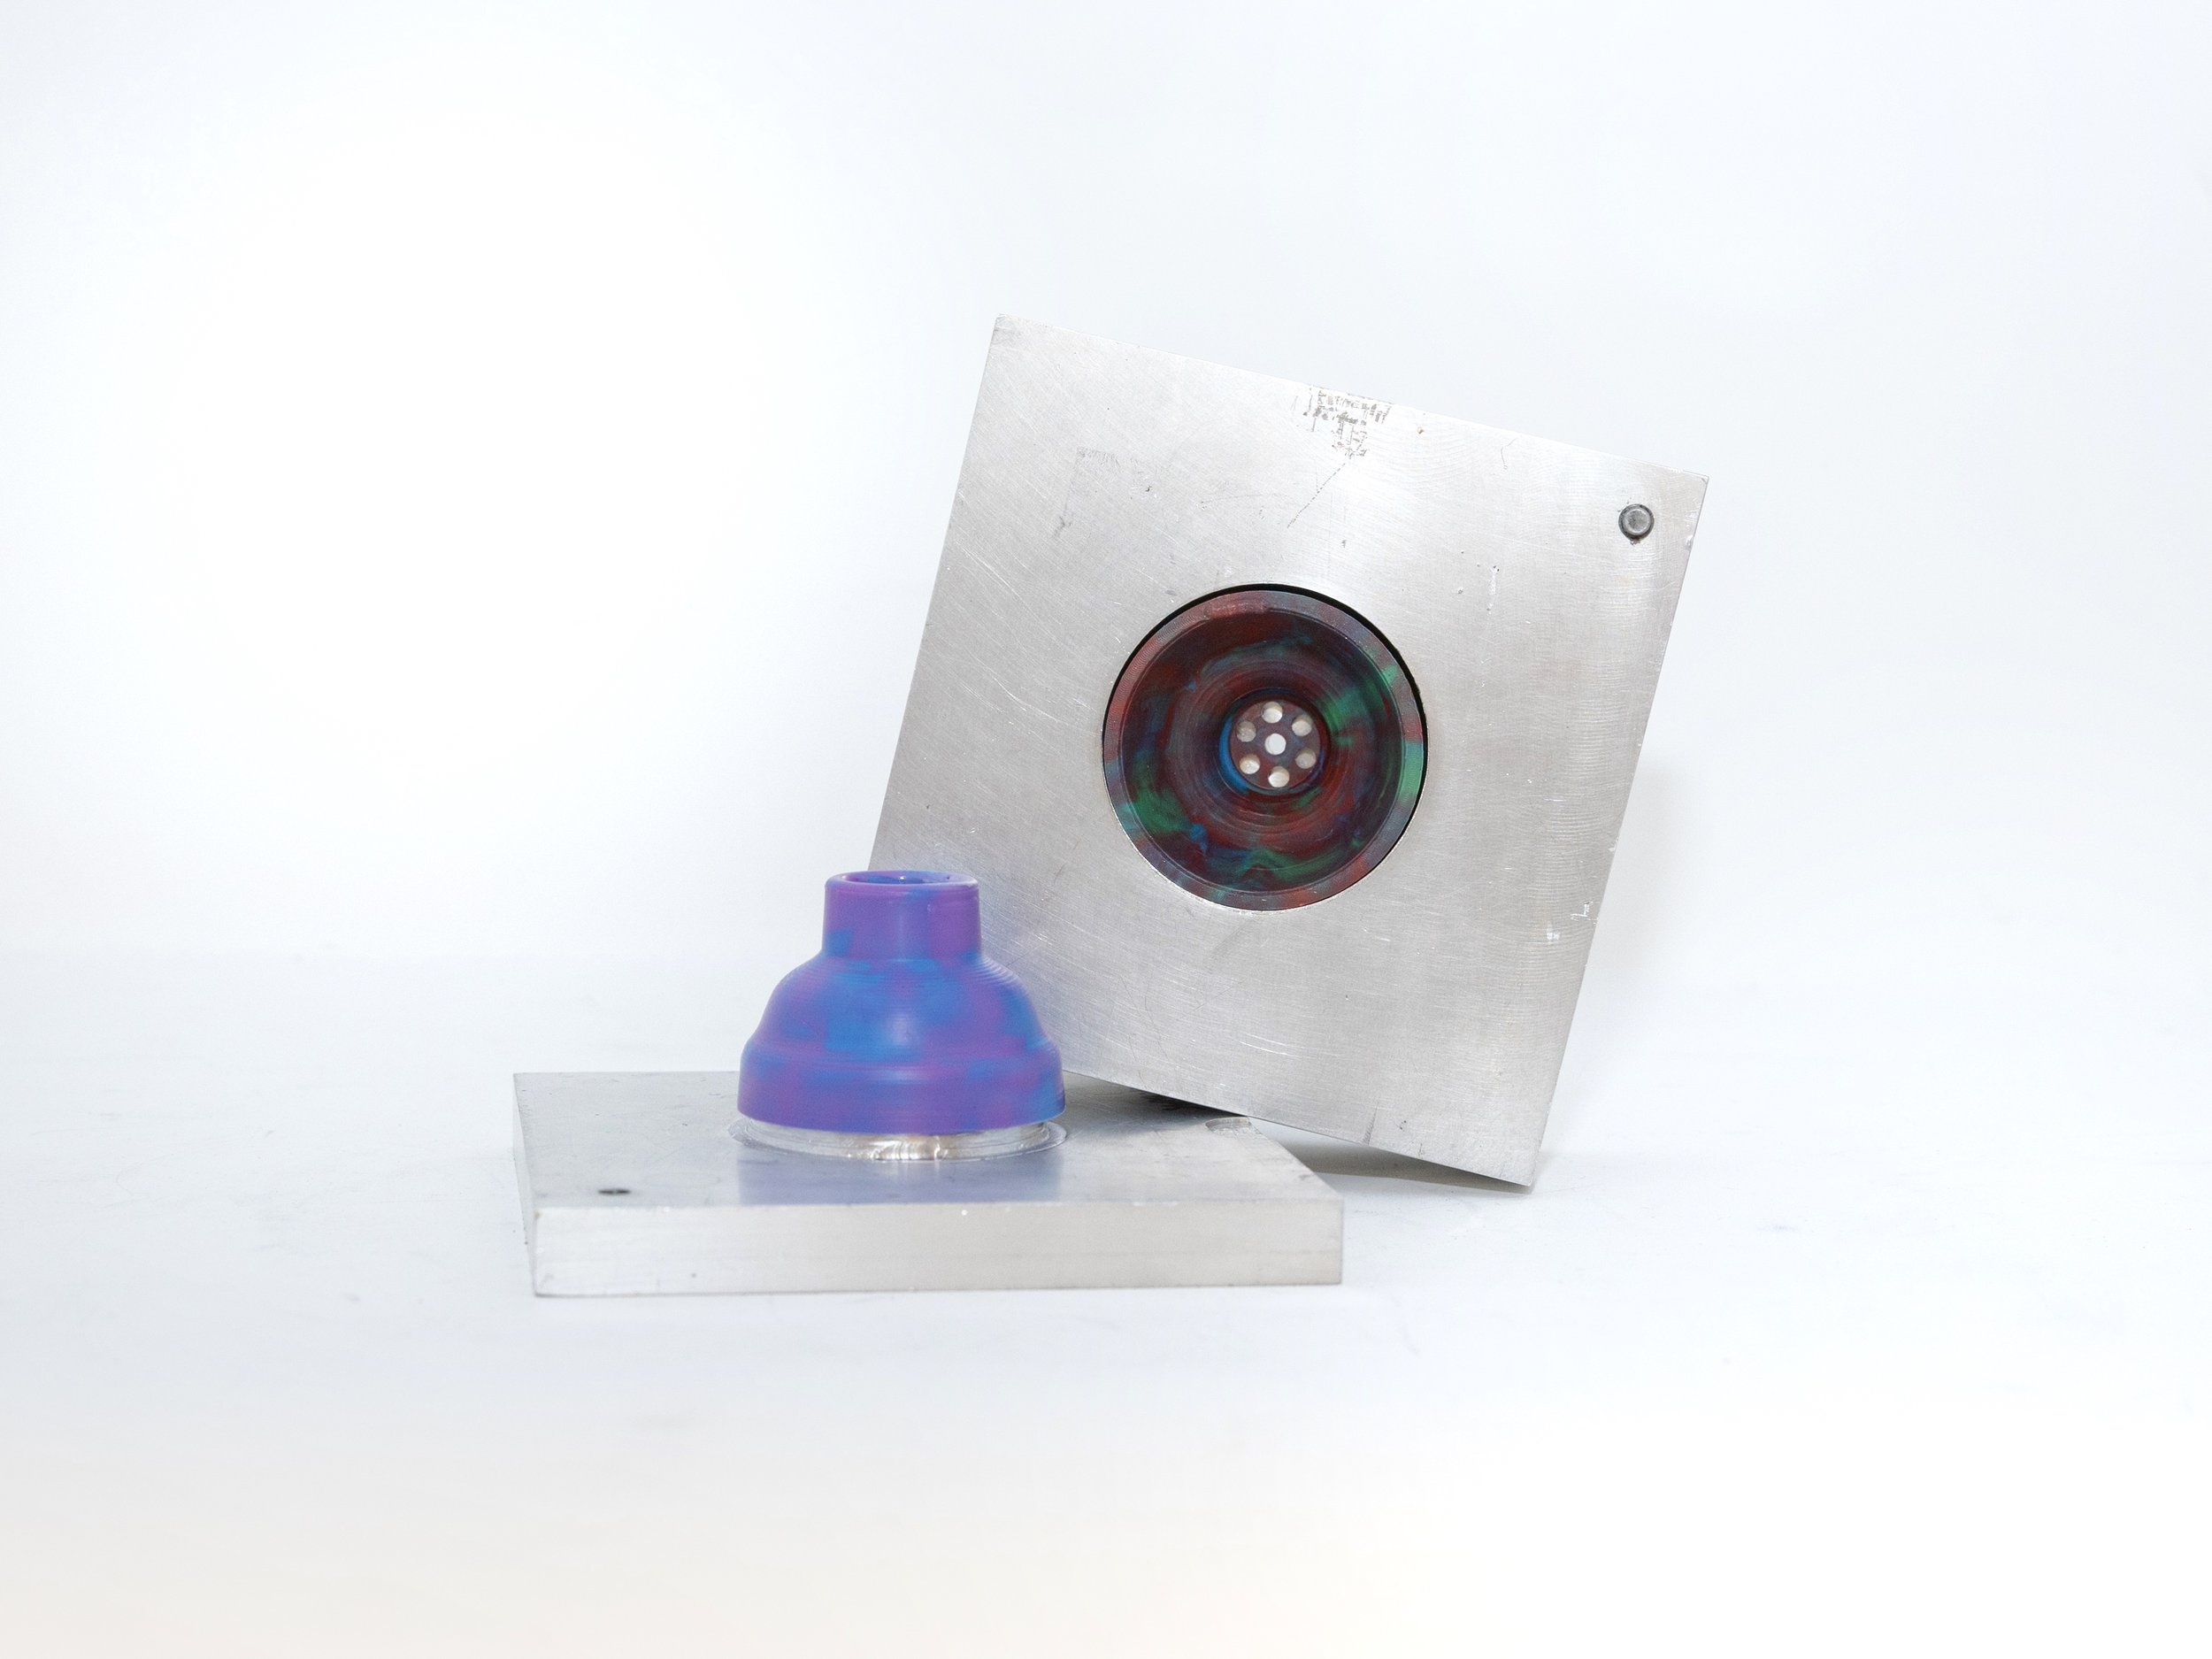
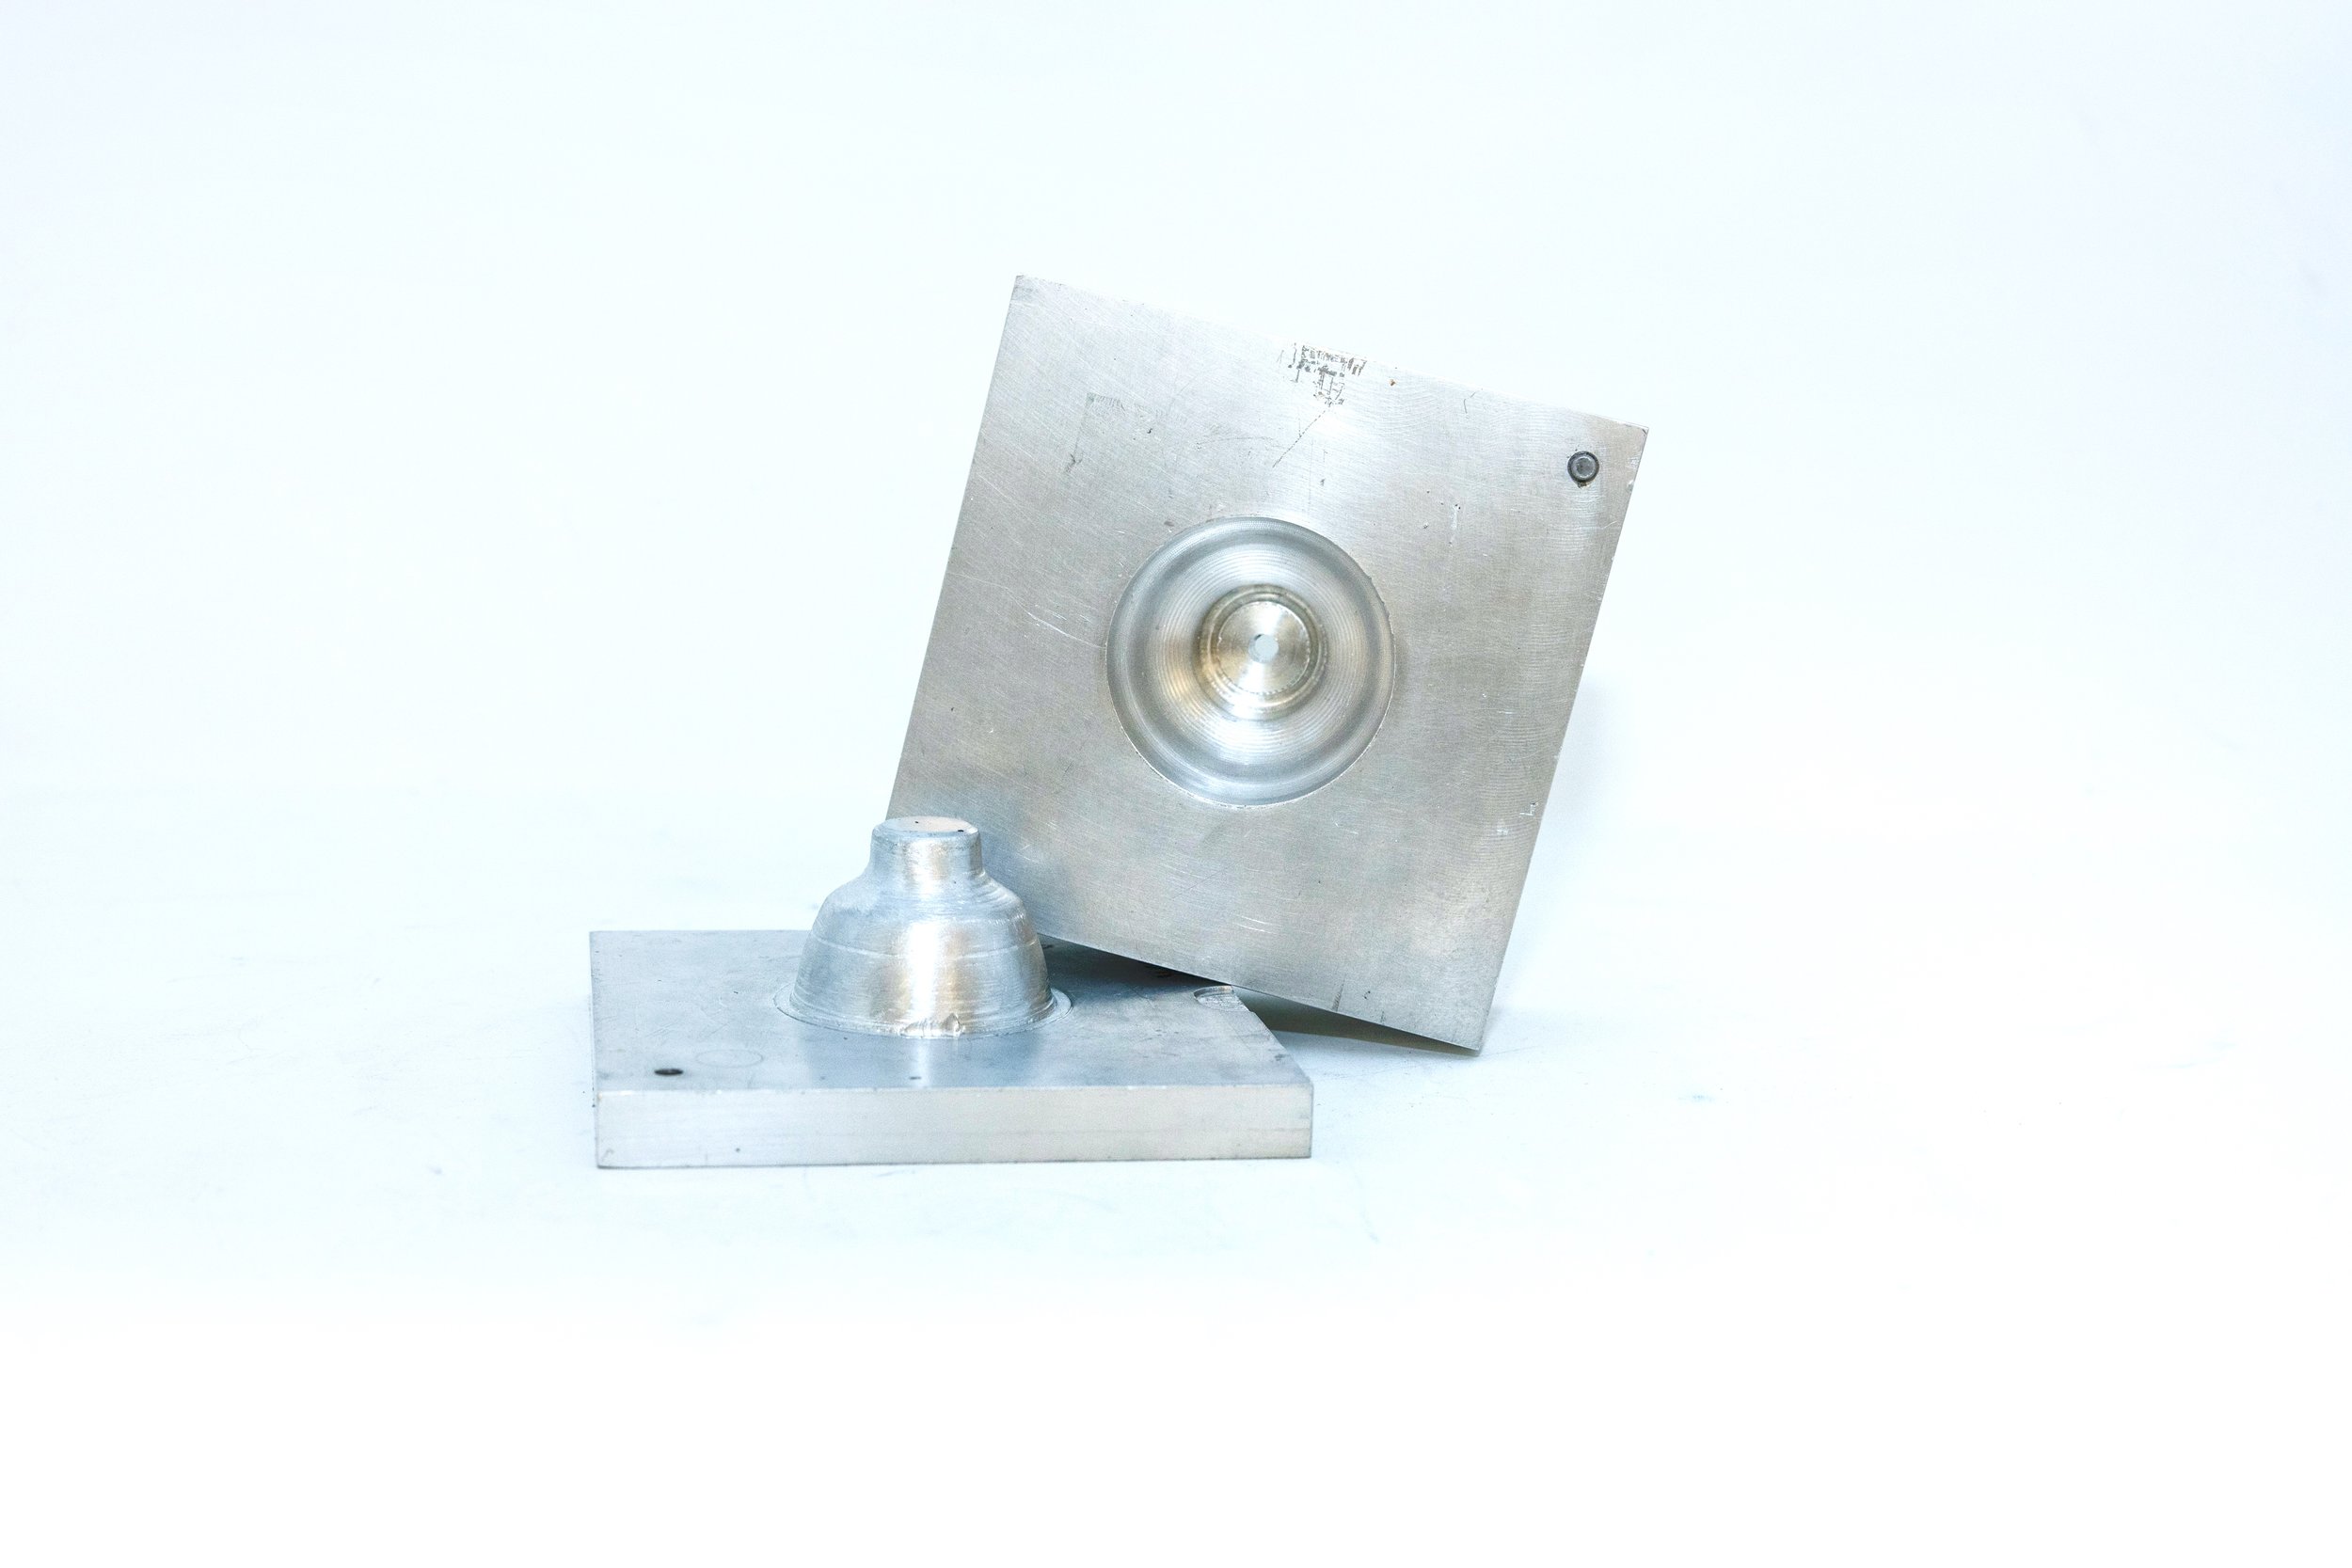
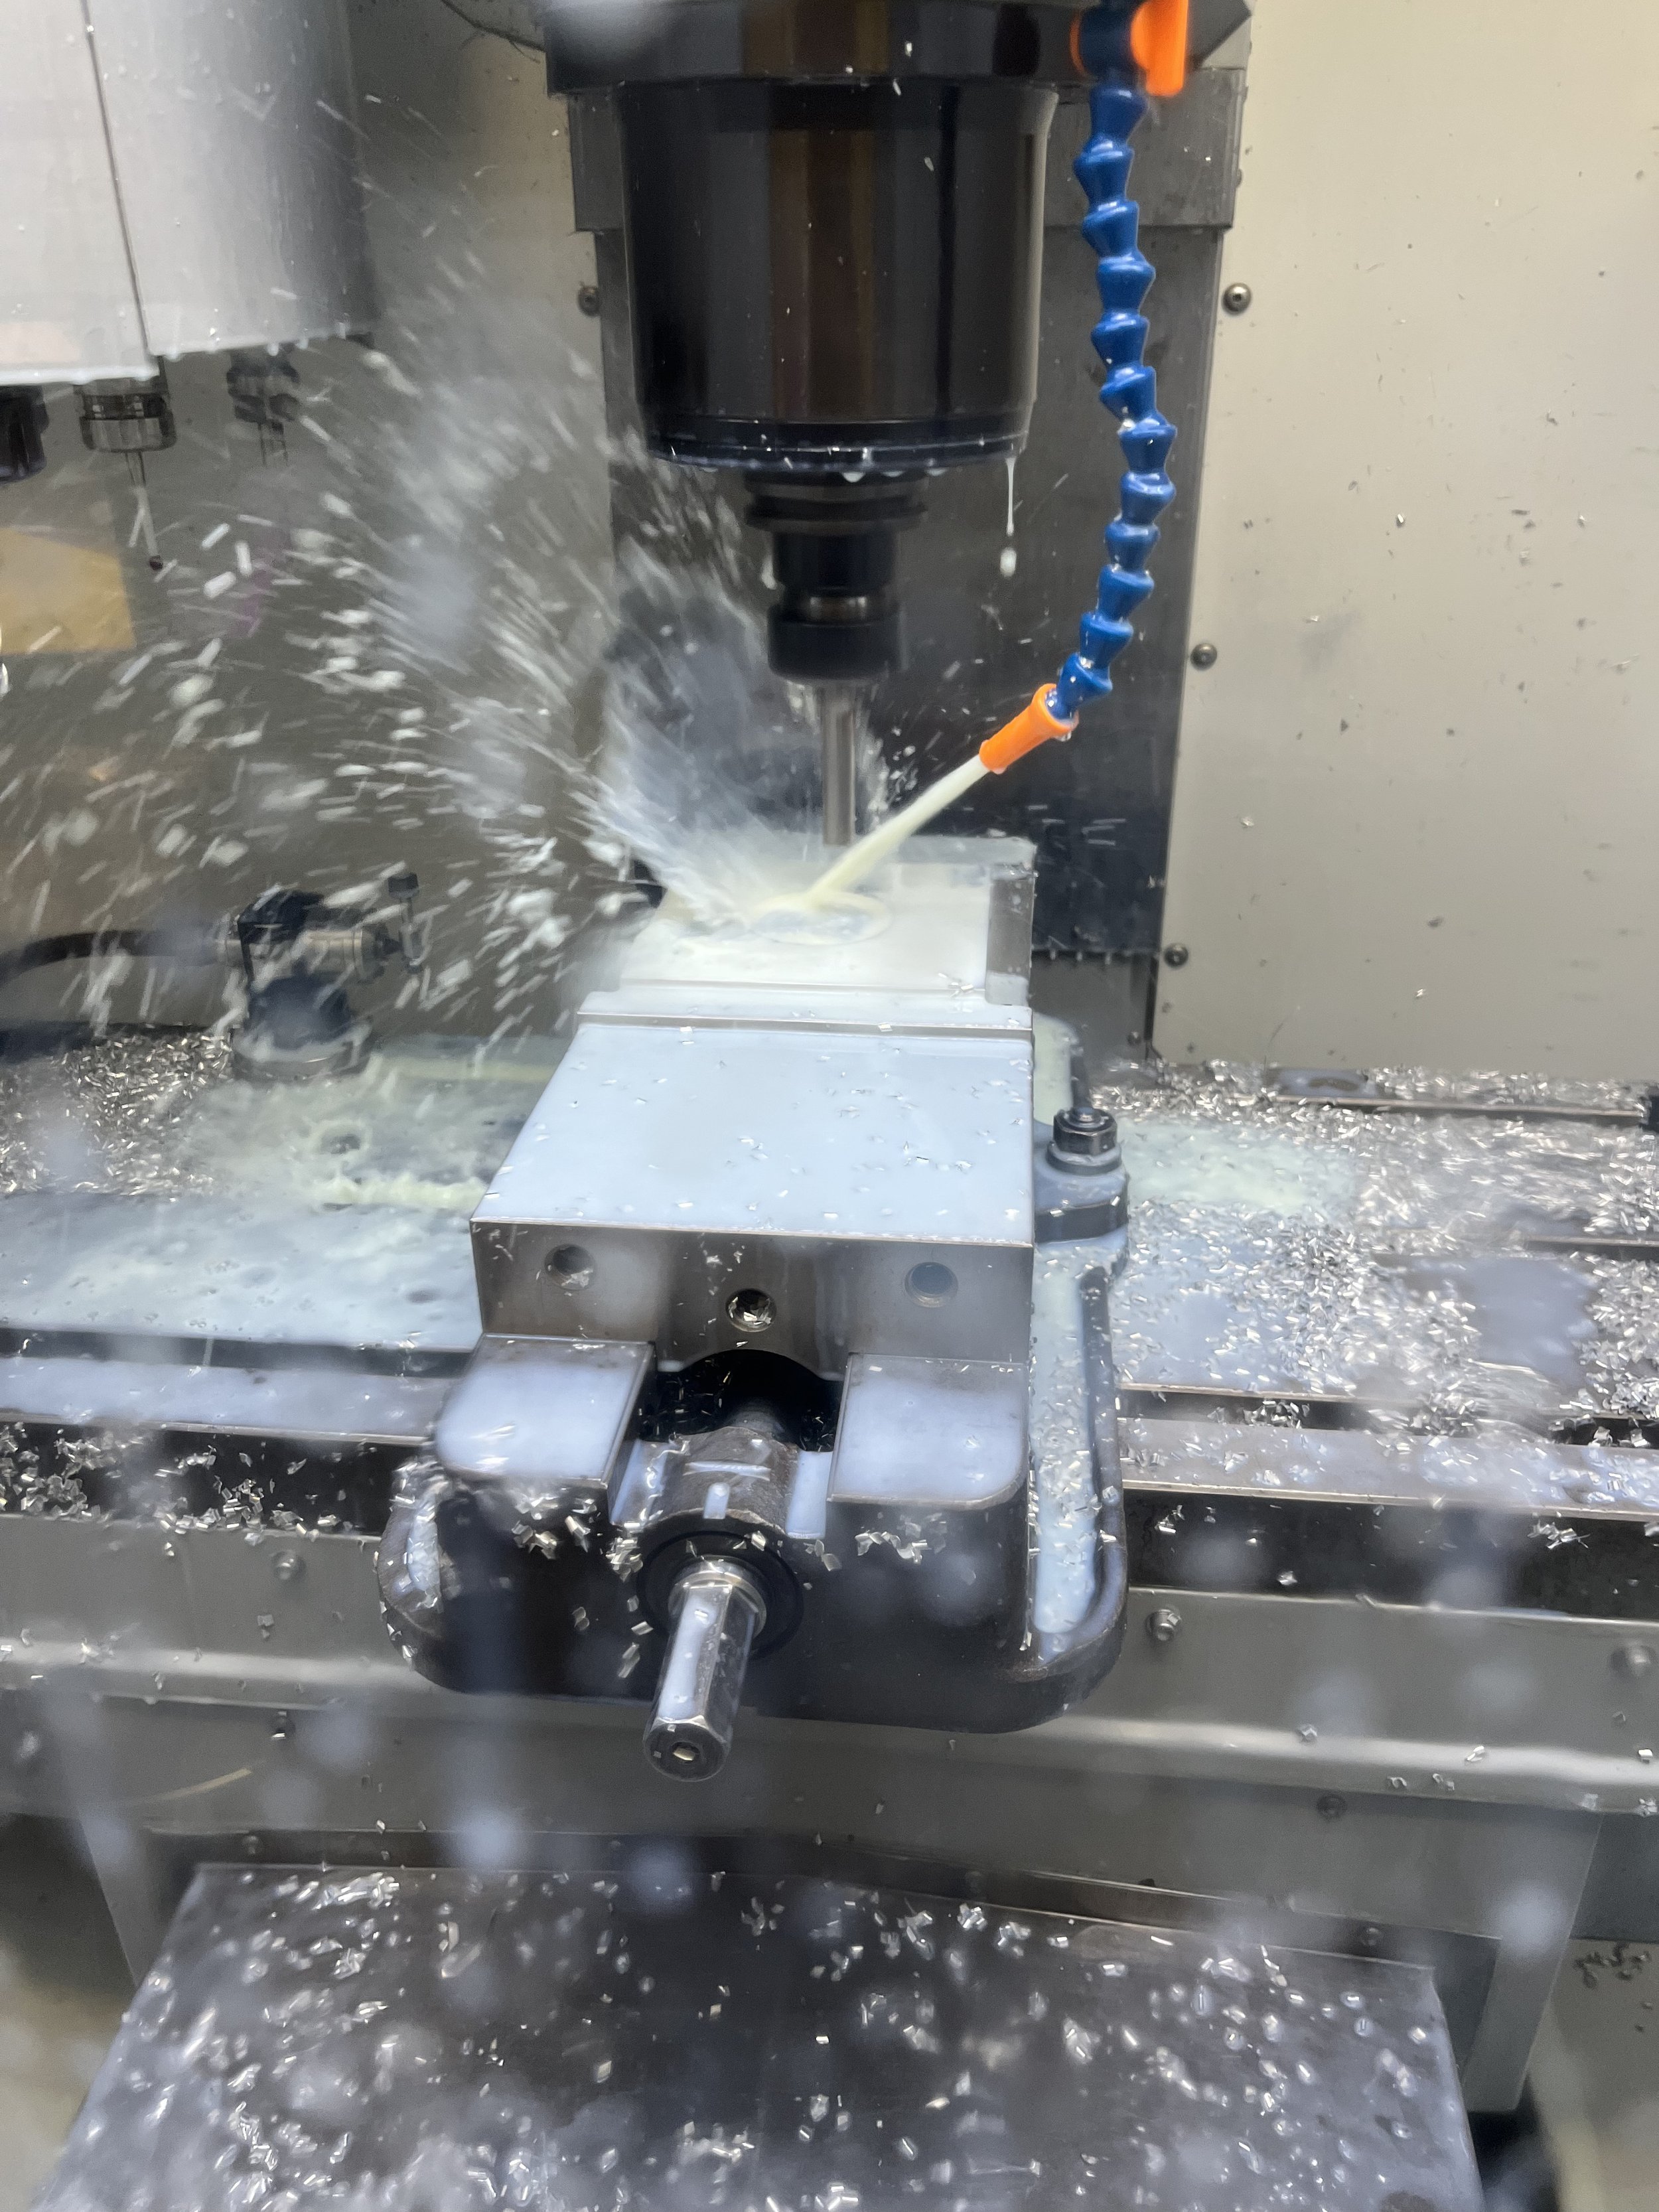
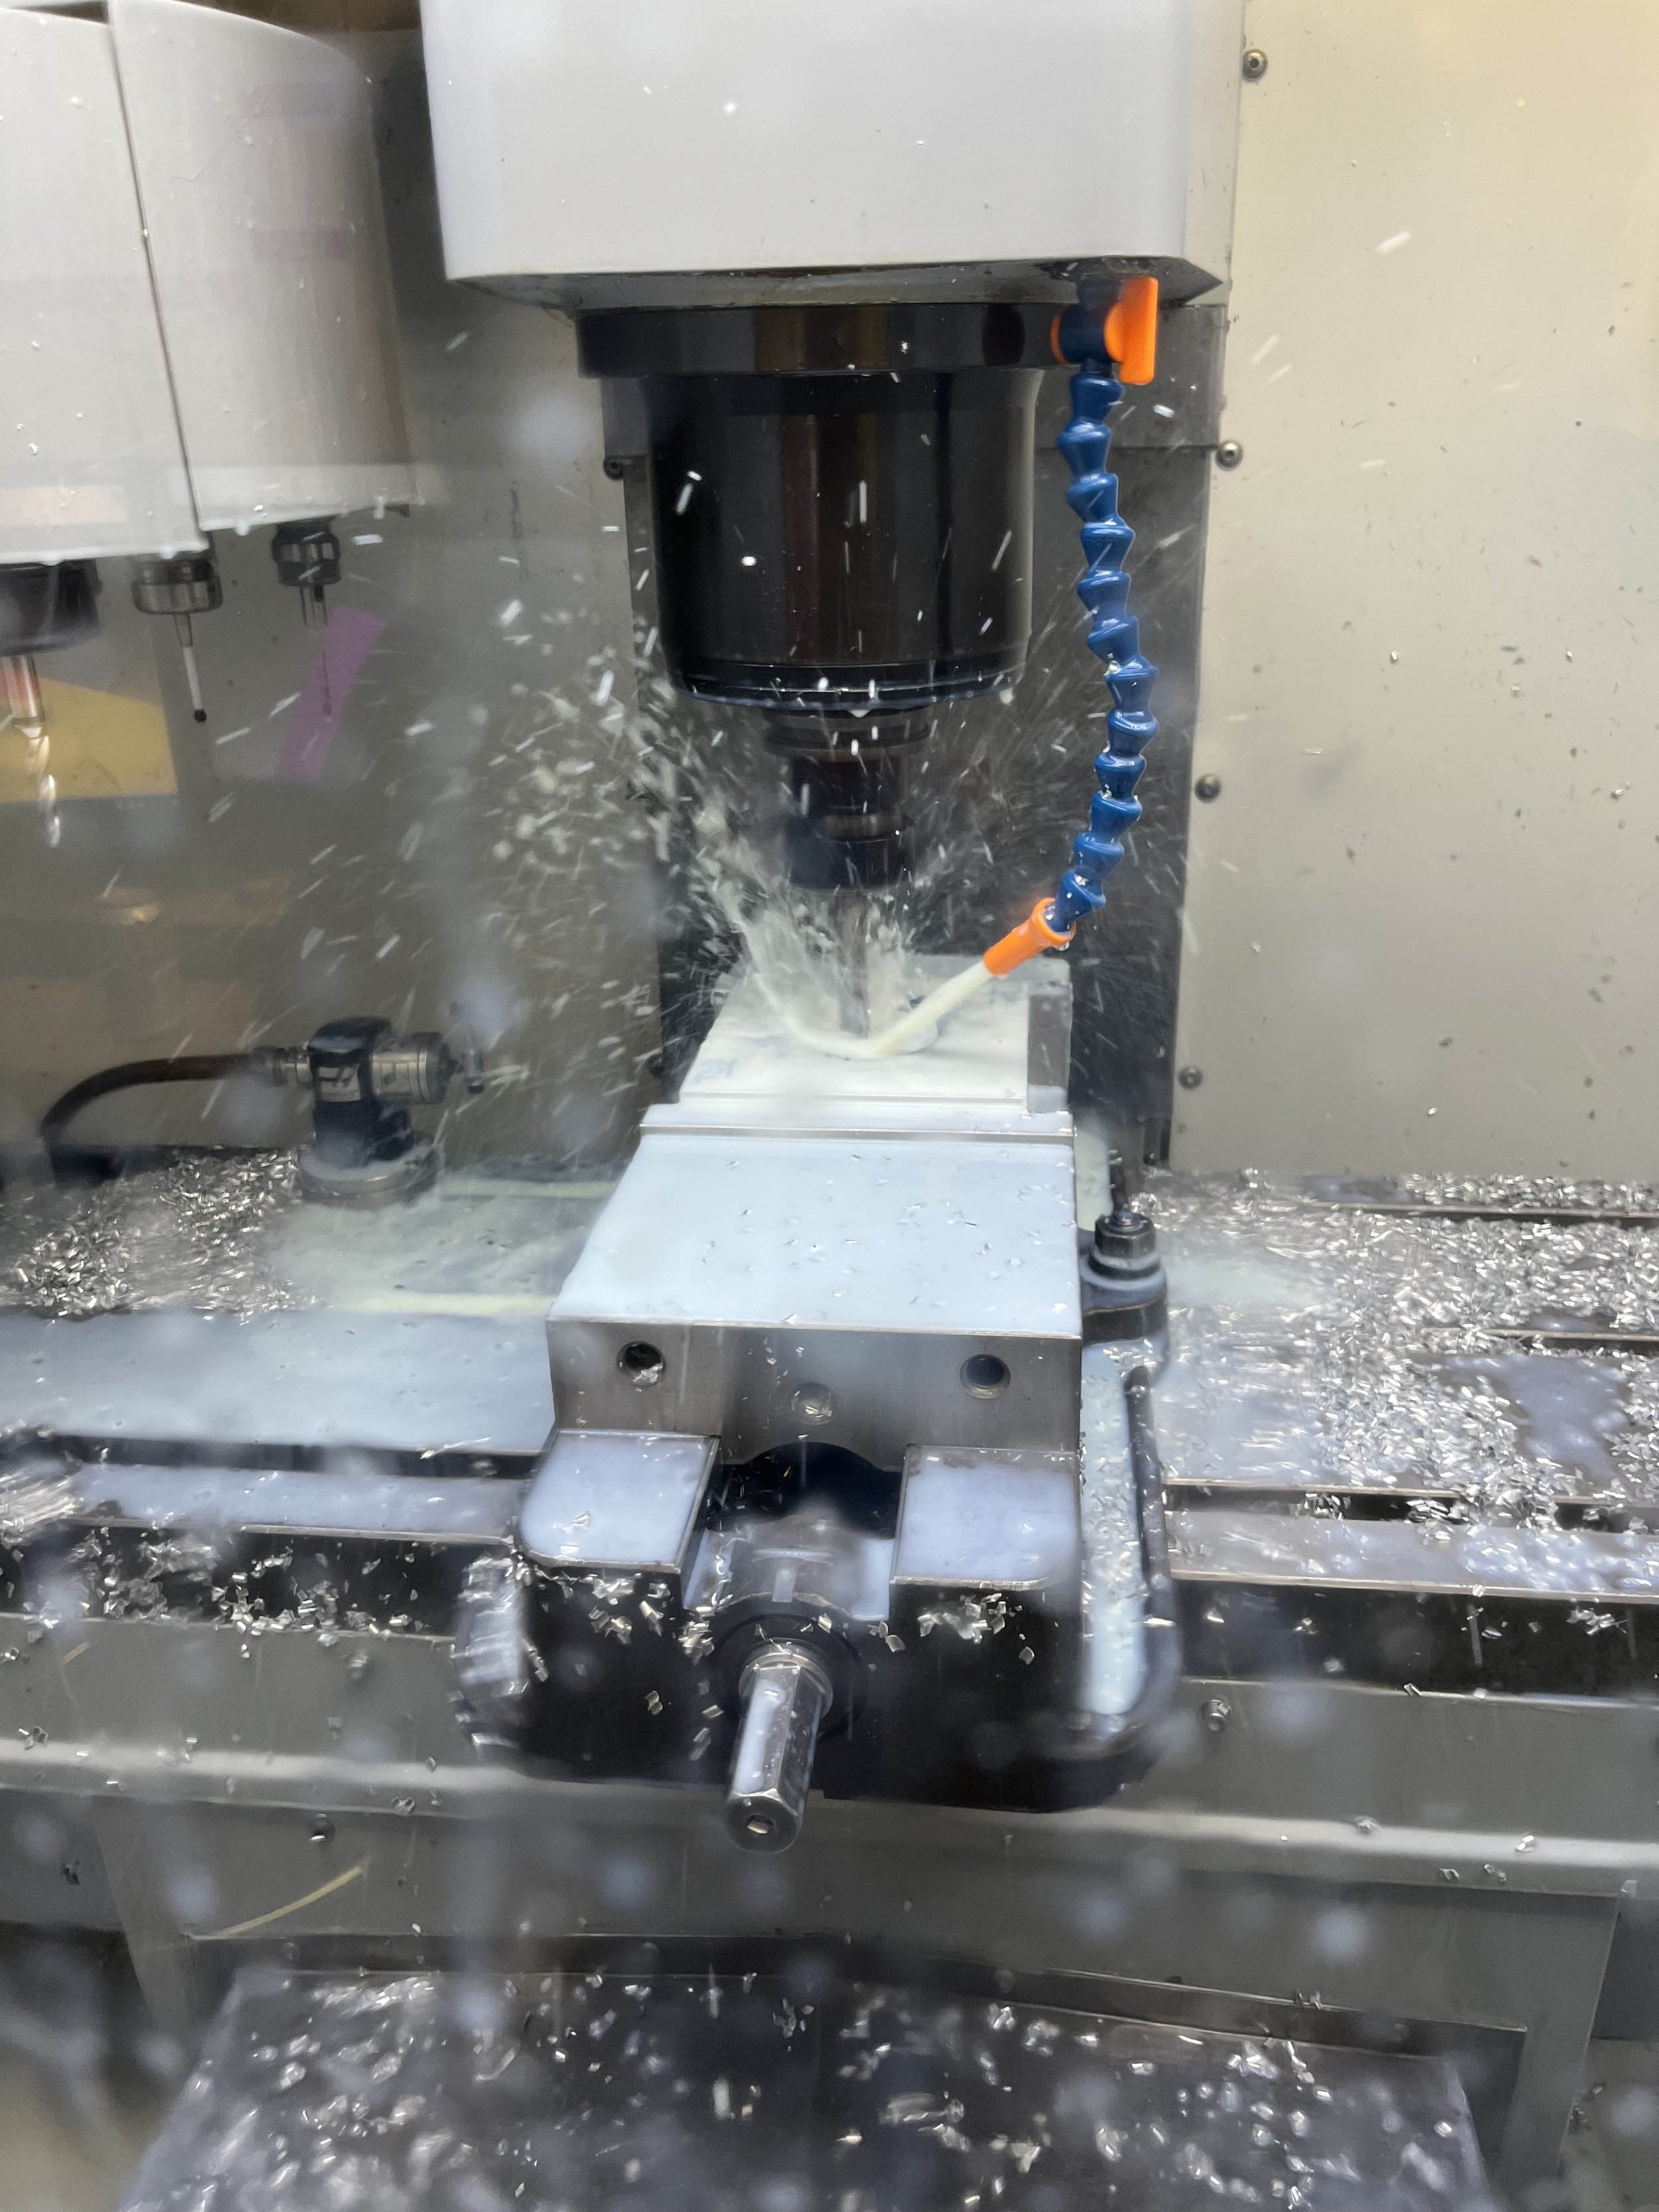
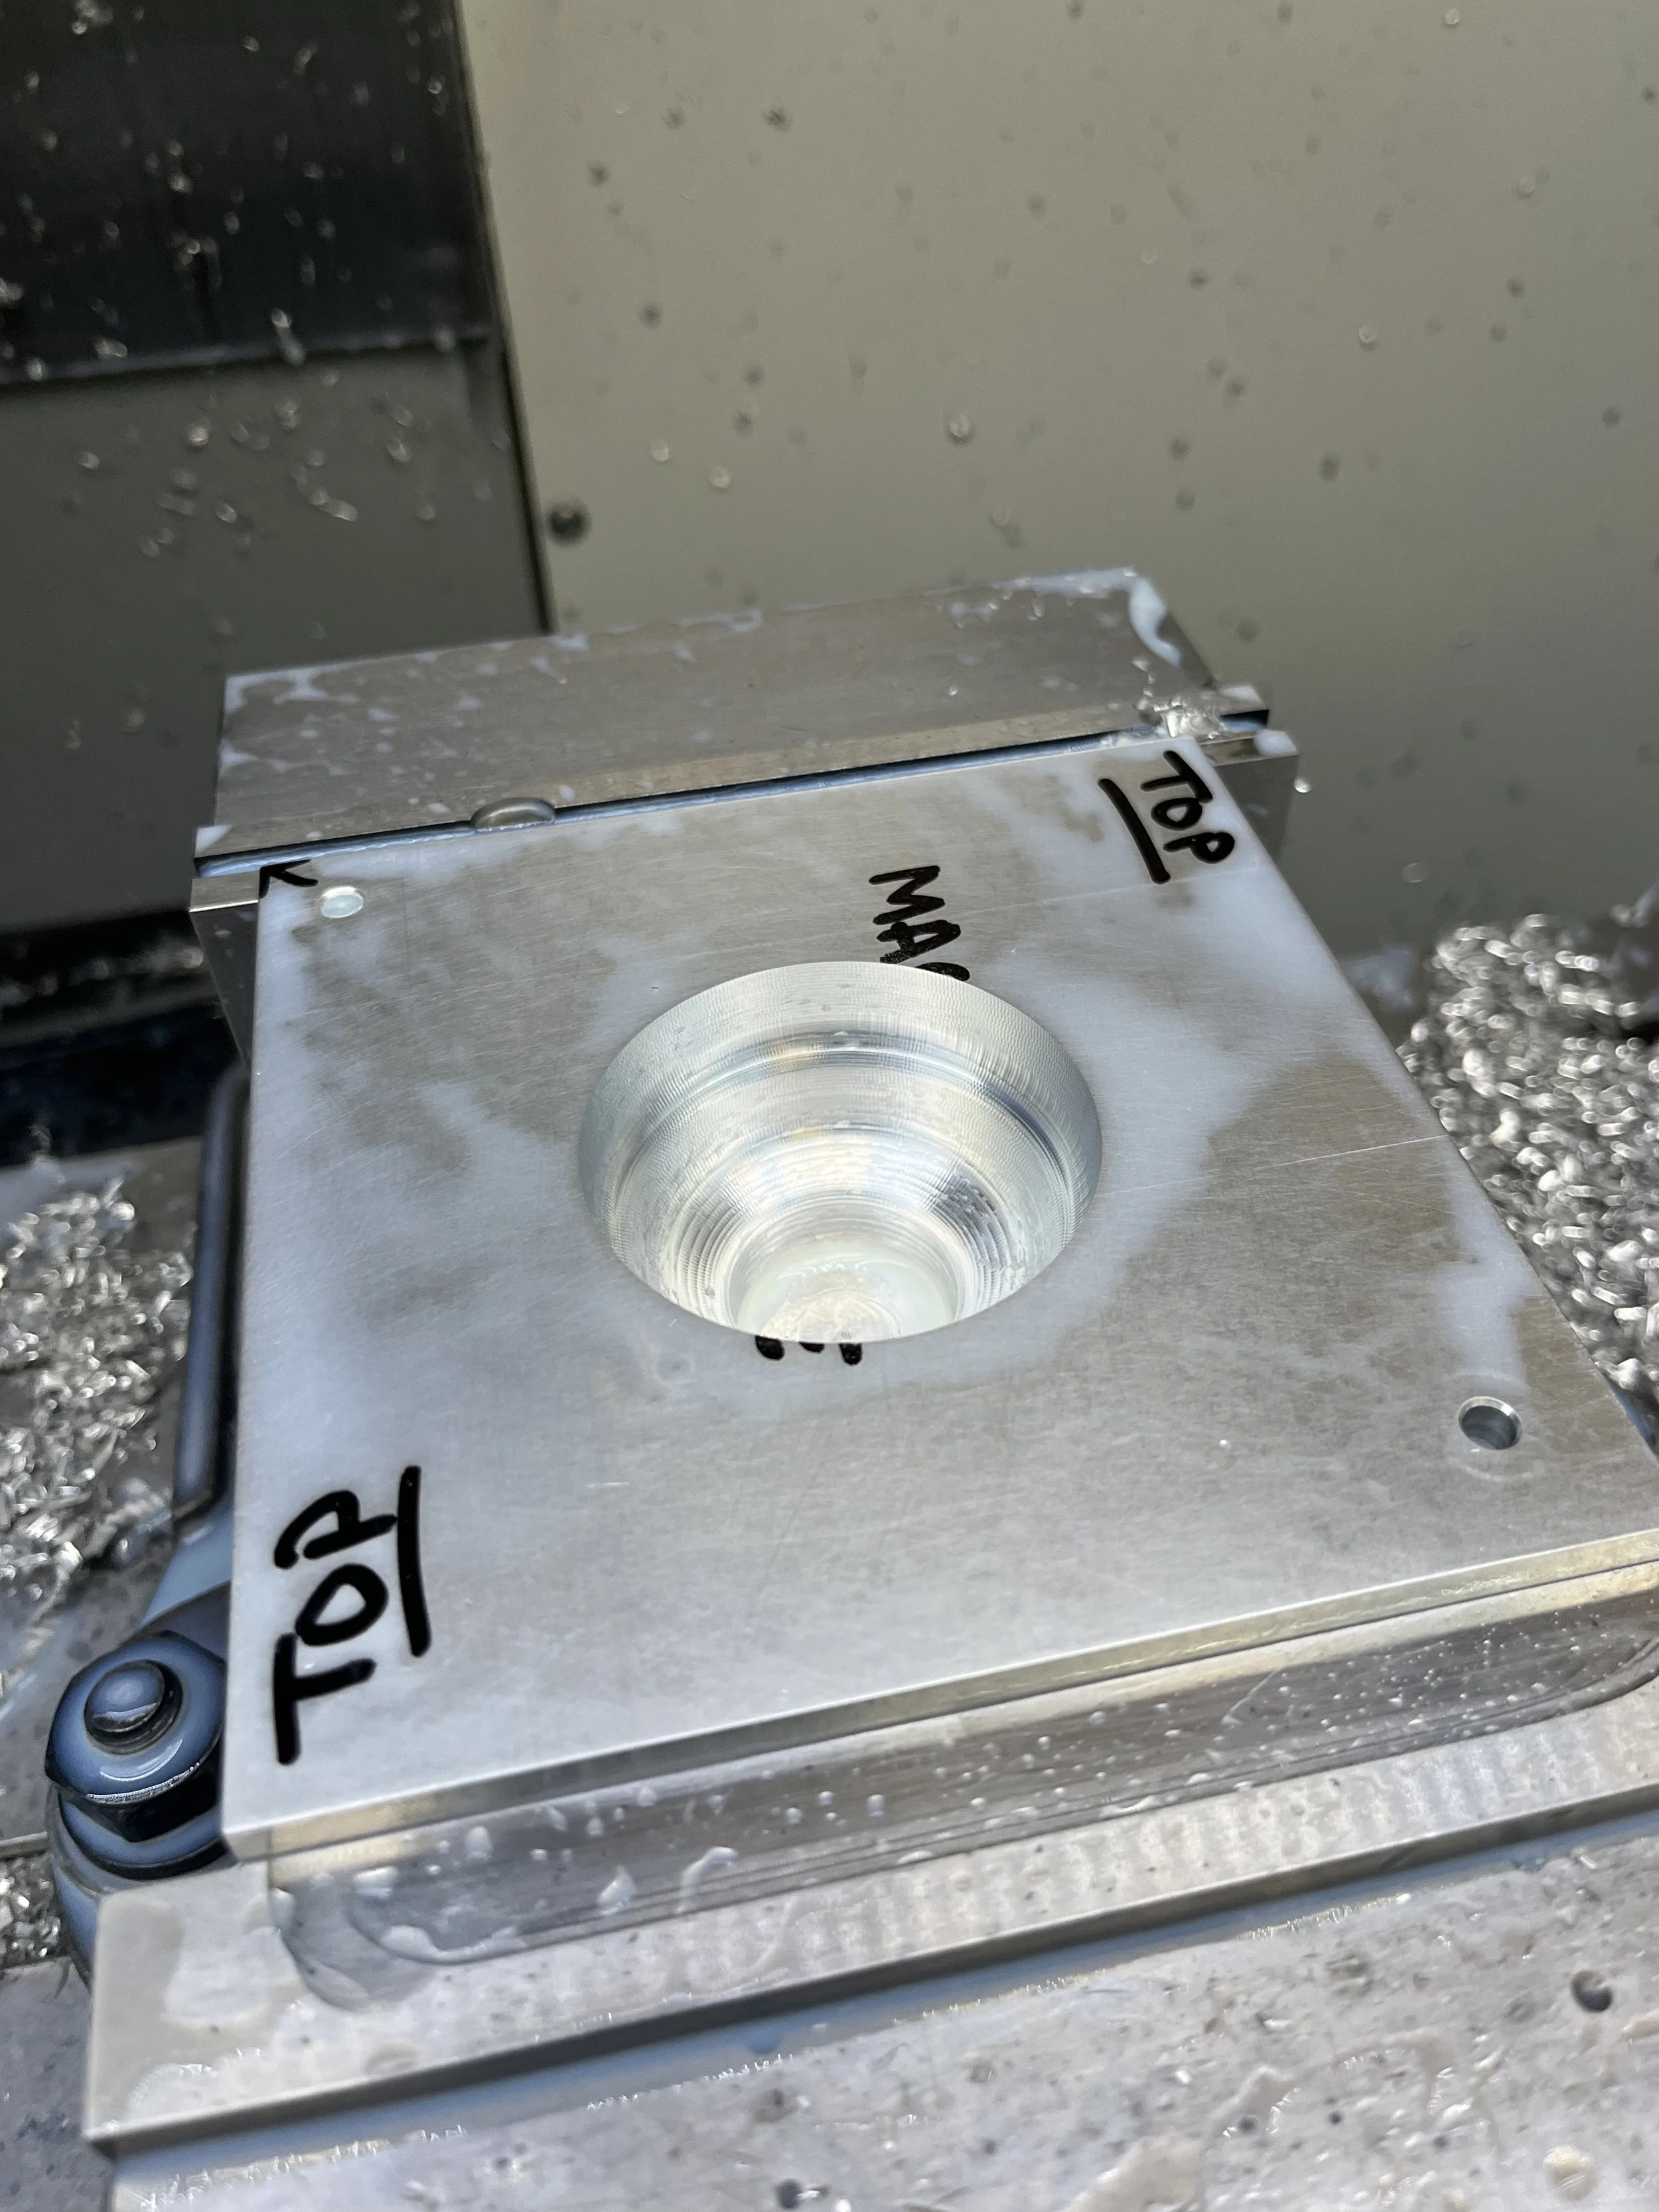
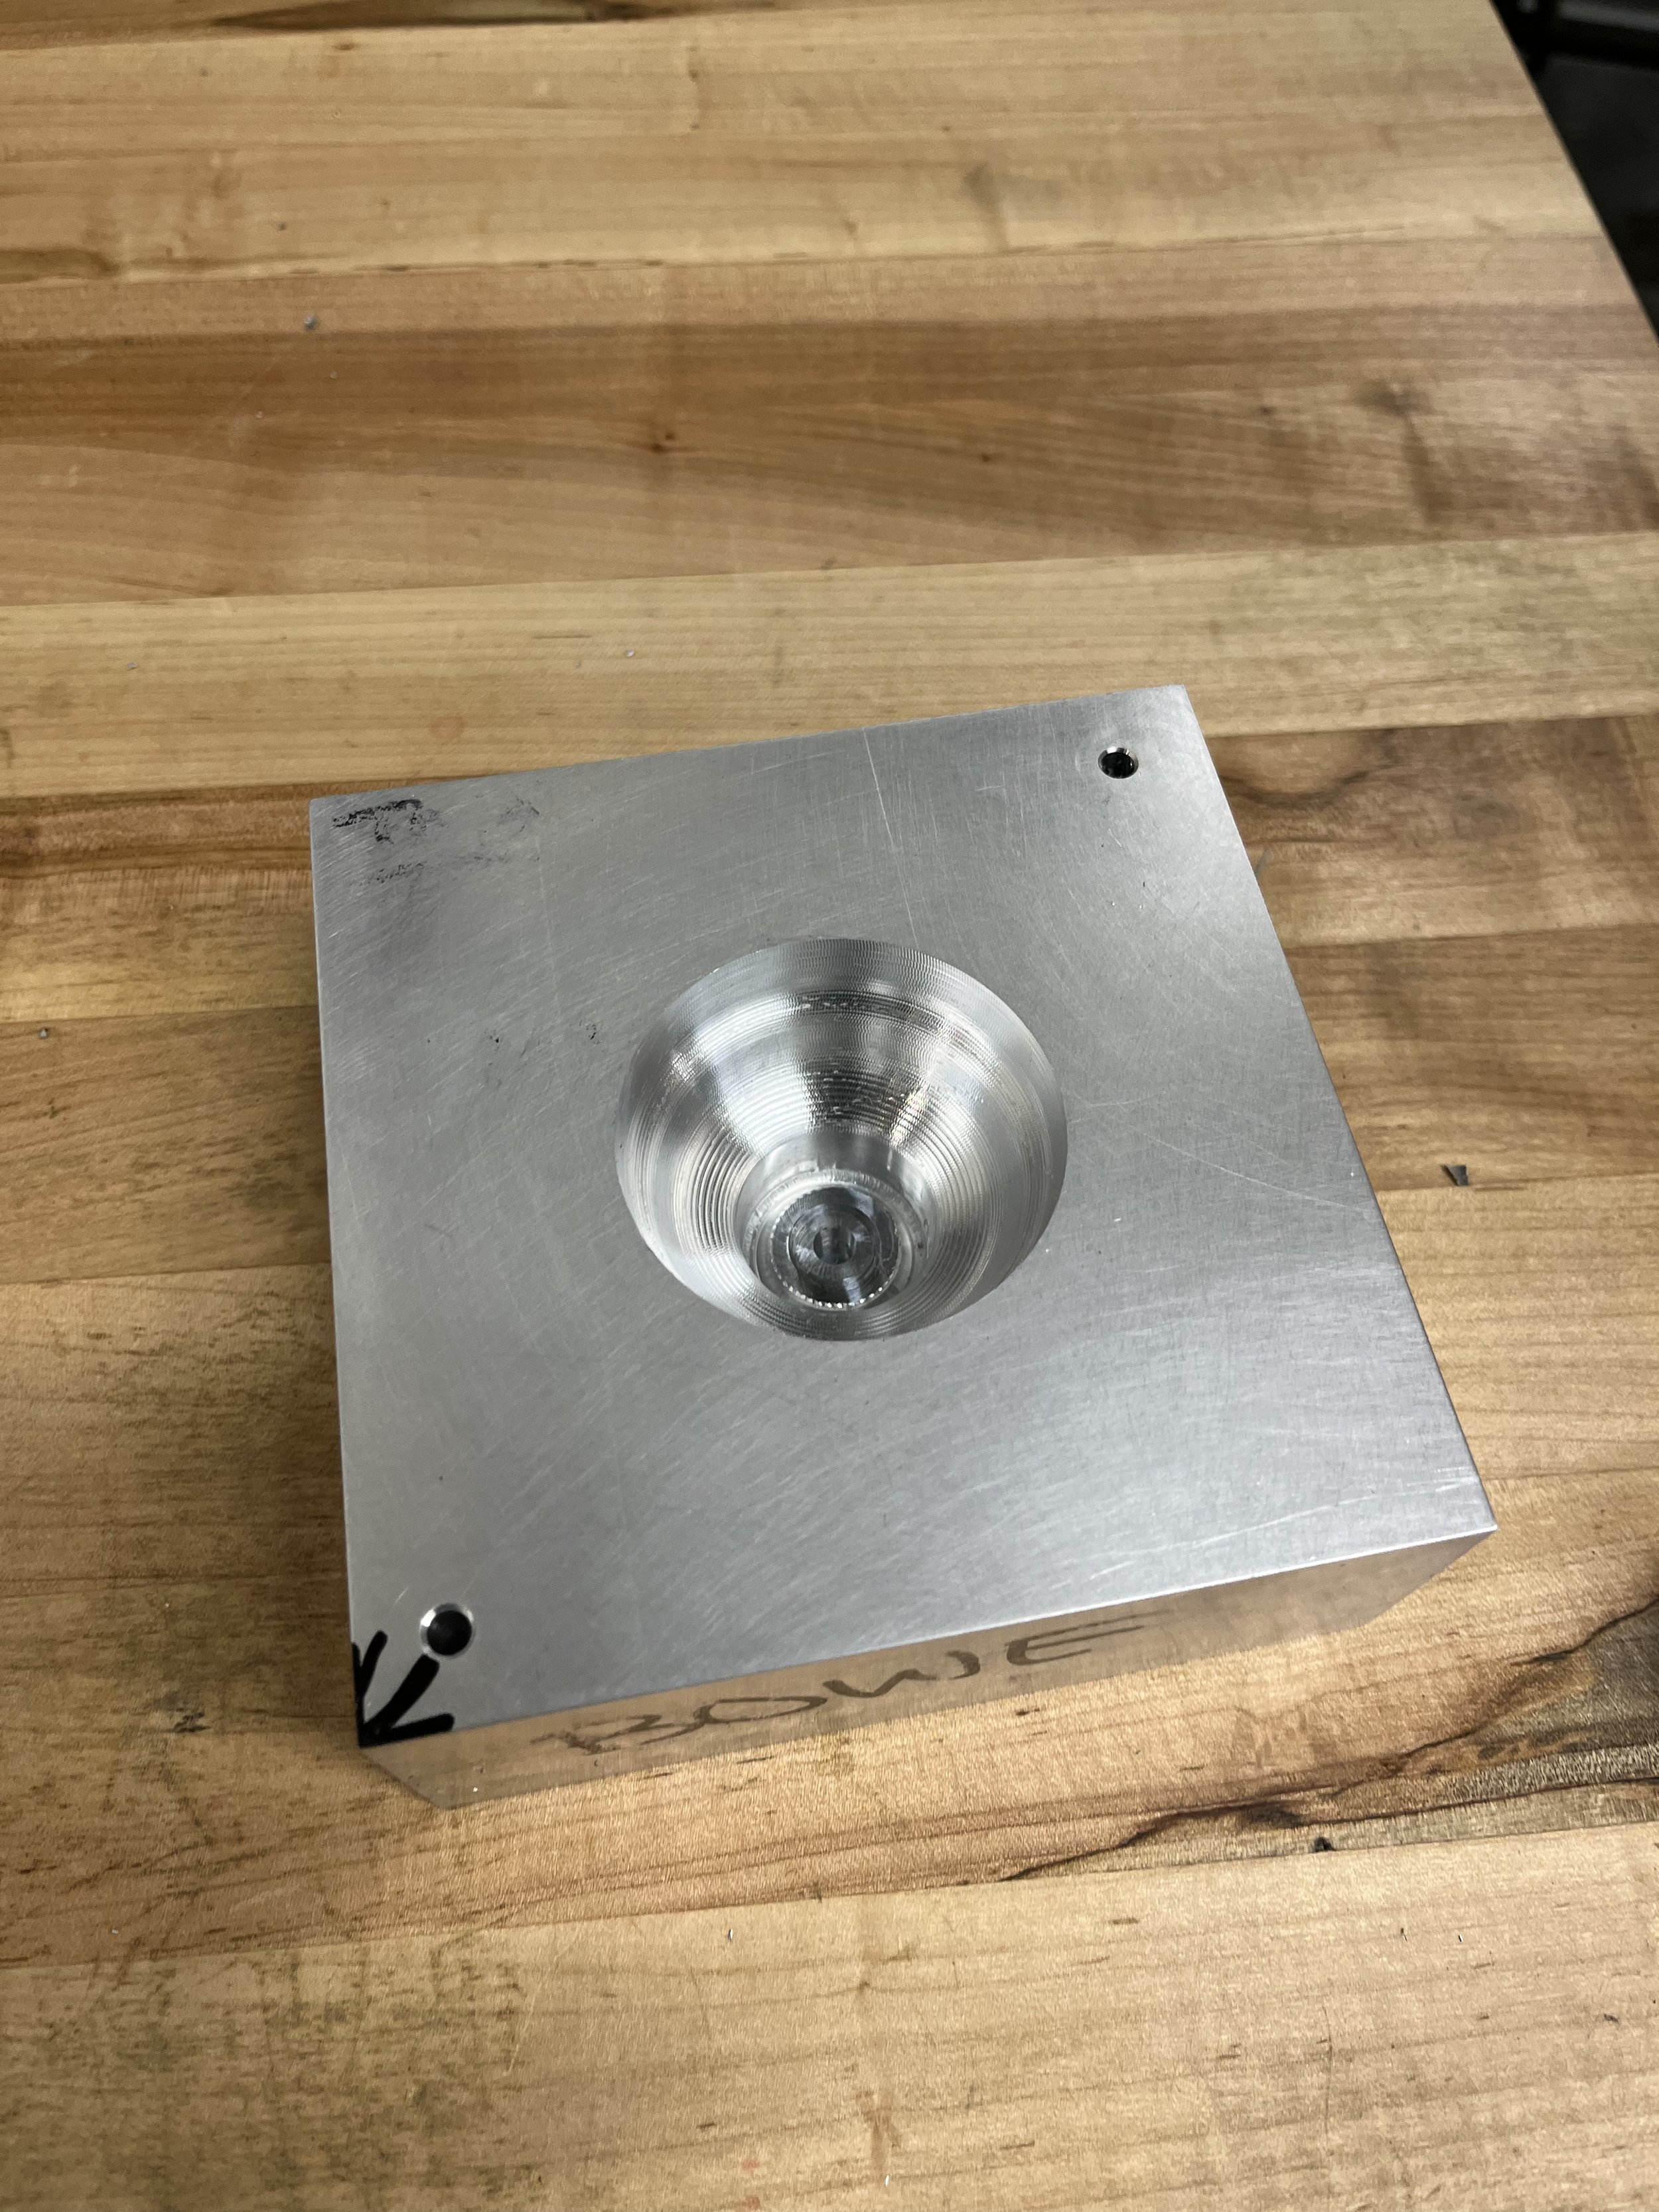
The mold was machined in two halves, on a Haas Mini Mill
The stock was first squared up on a mill, and then the Mini Mill was used to create the cavity and registration pockets for the injection molding machine
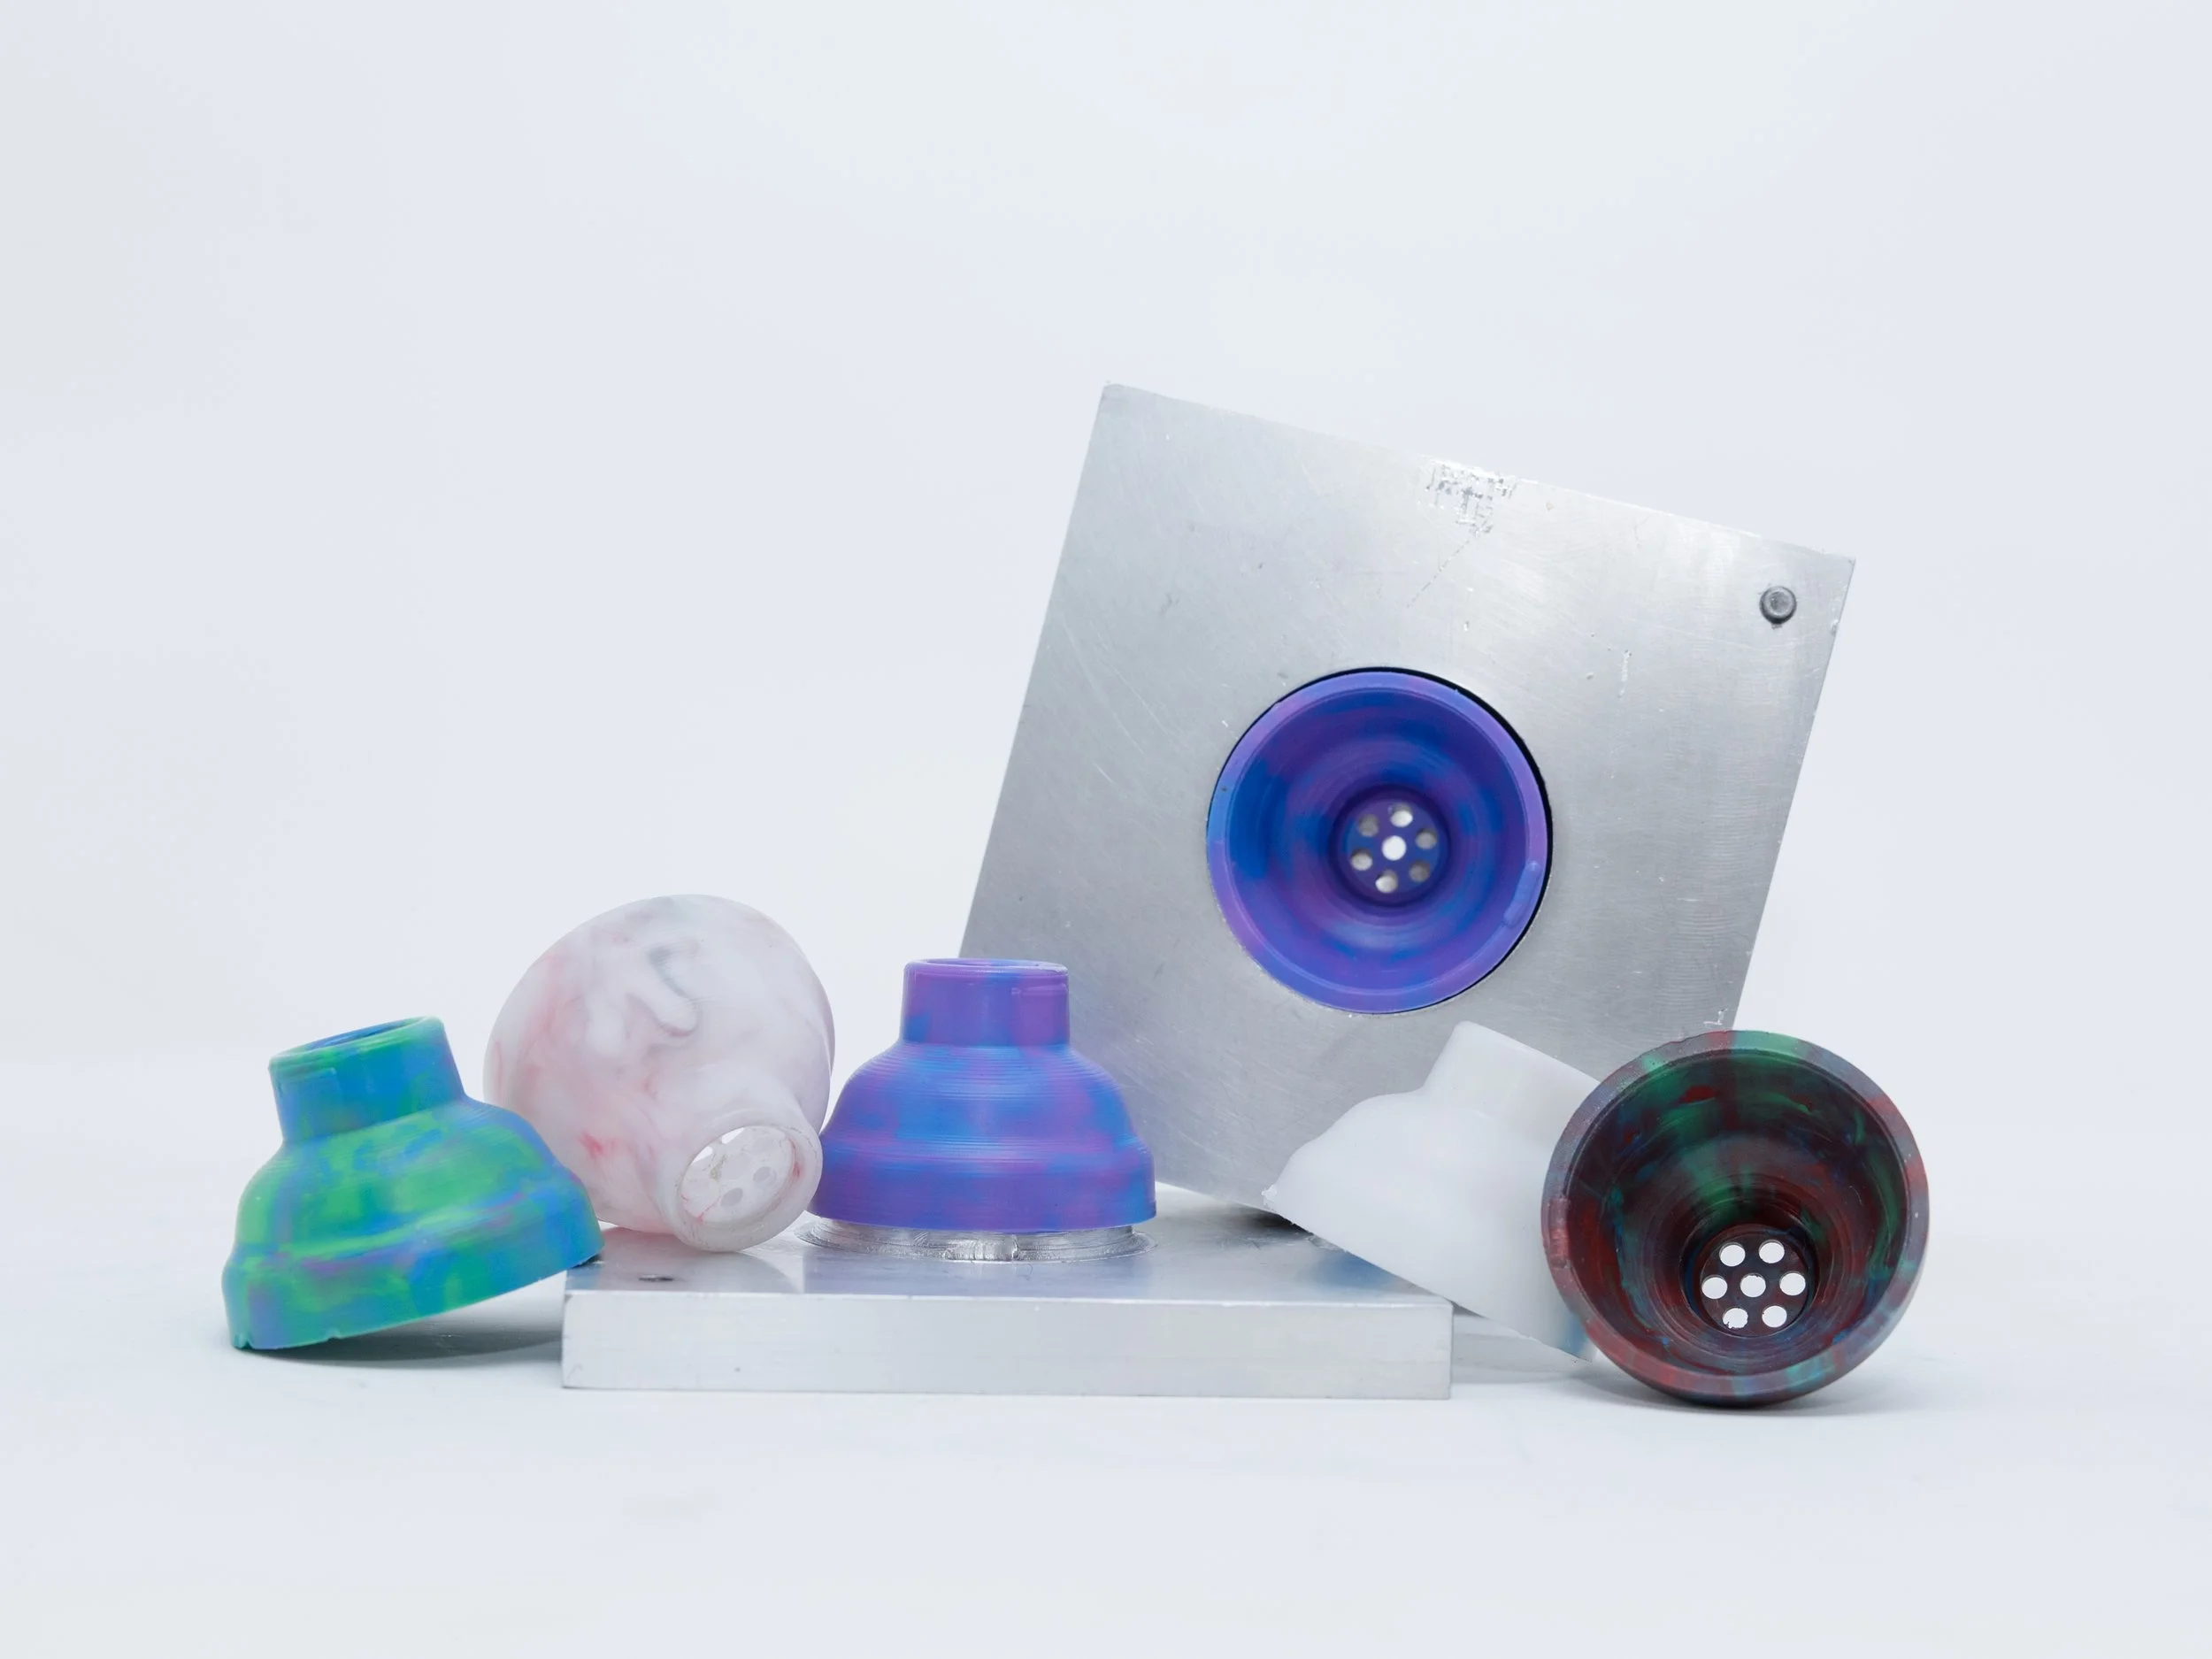
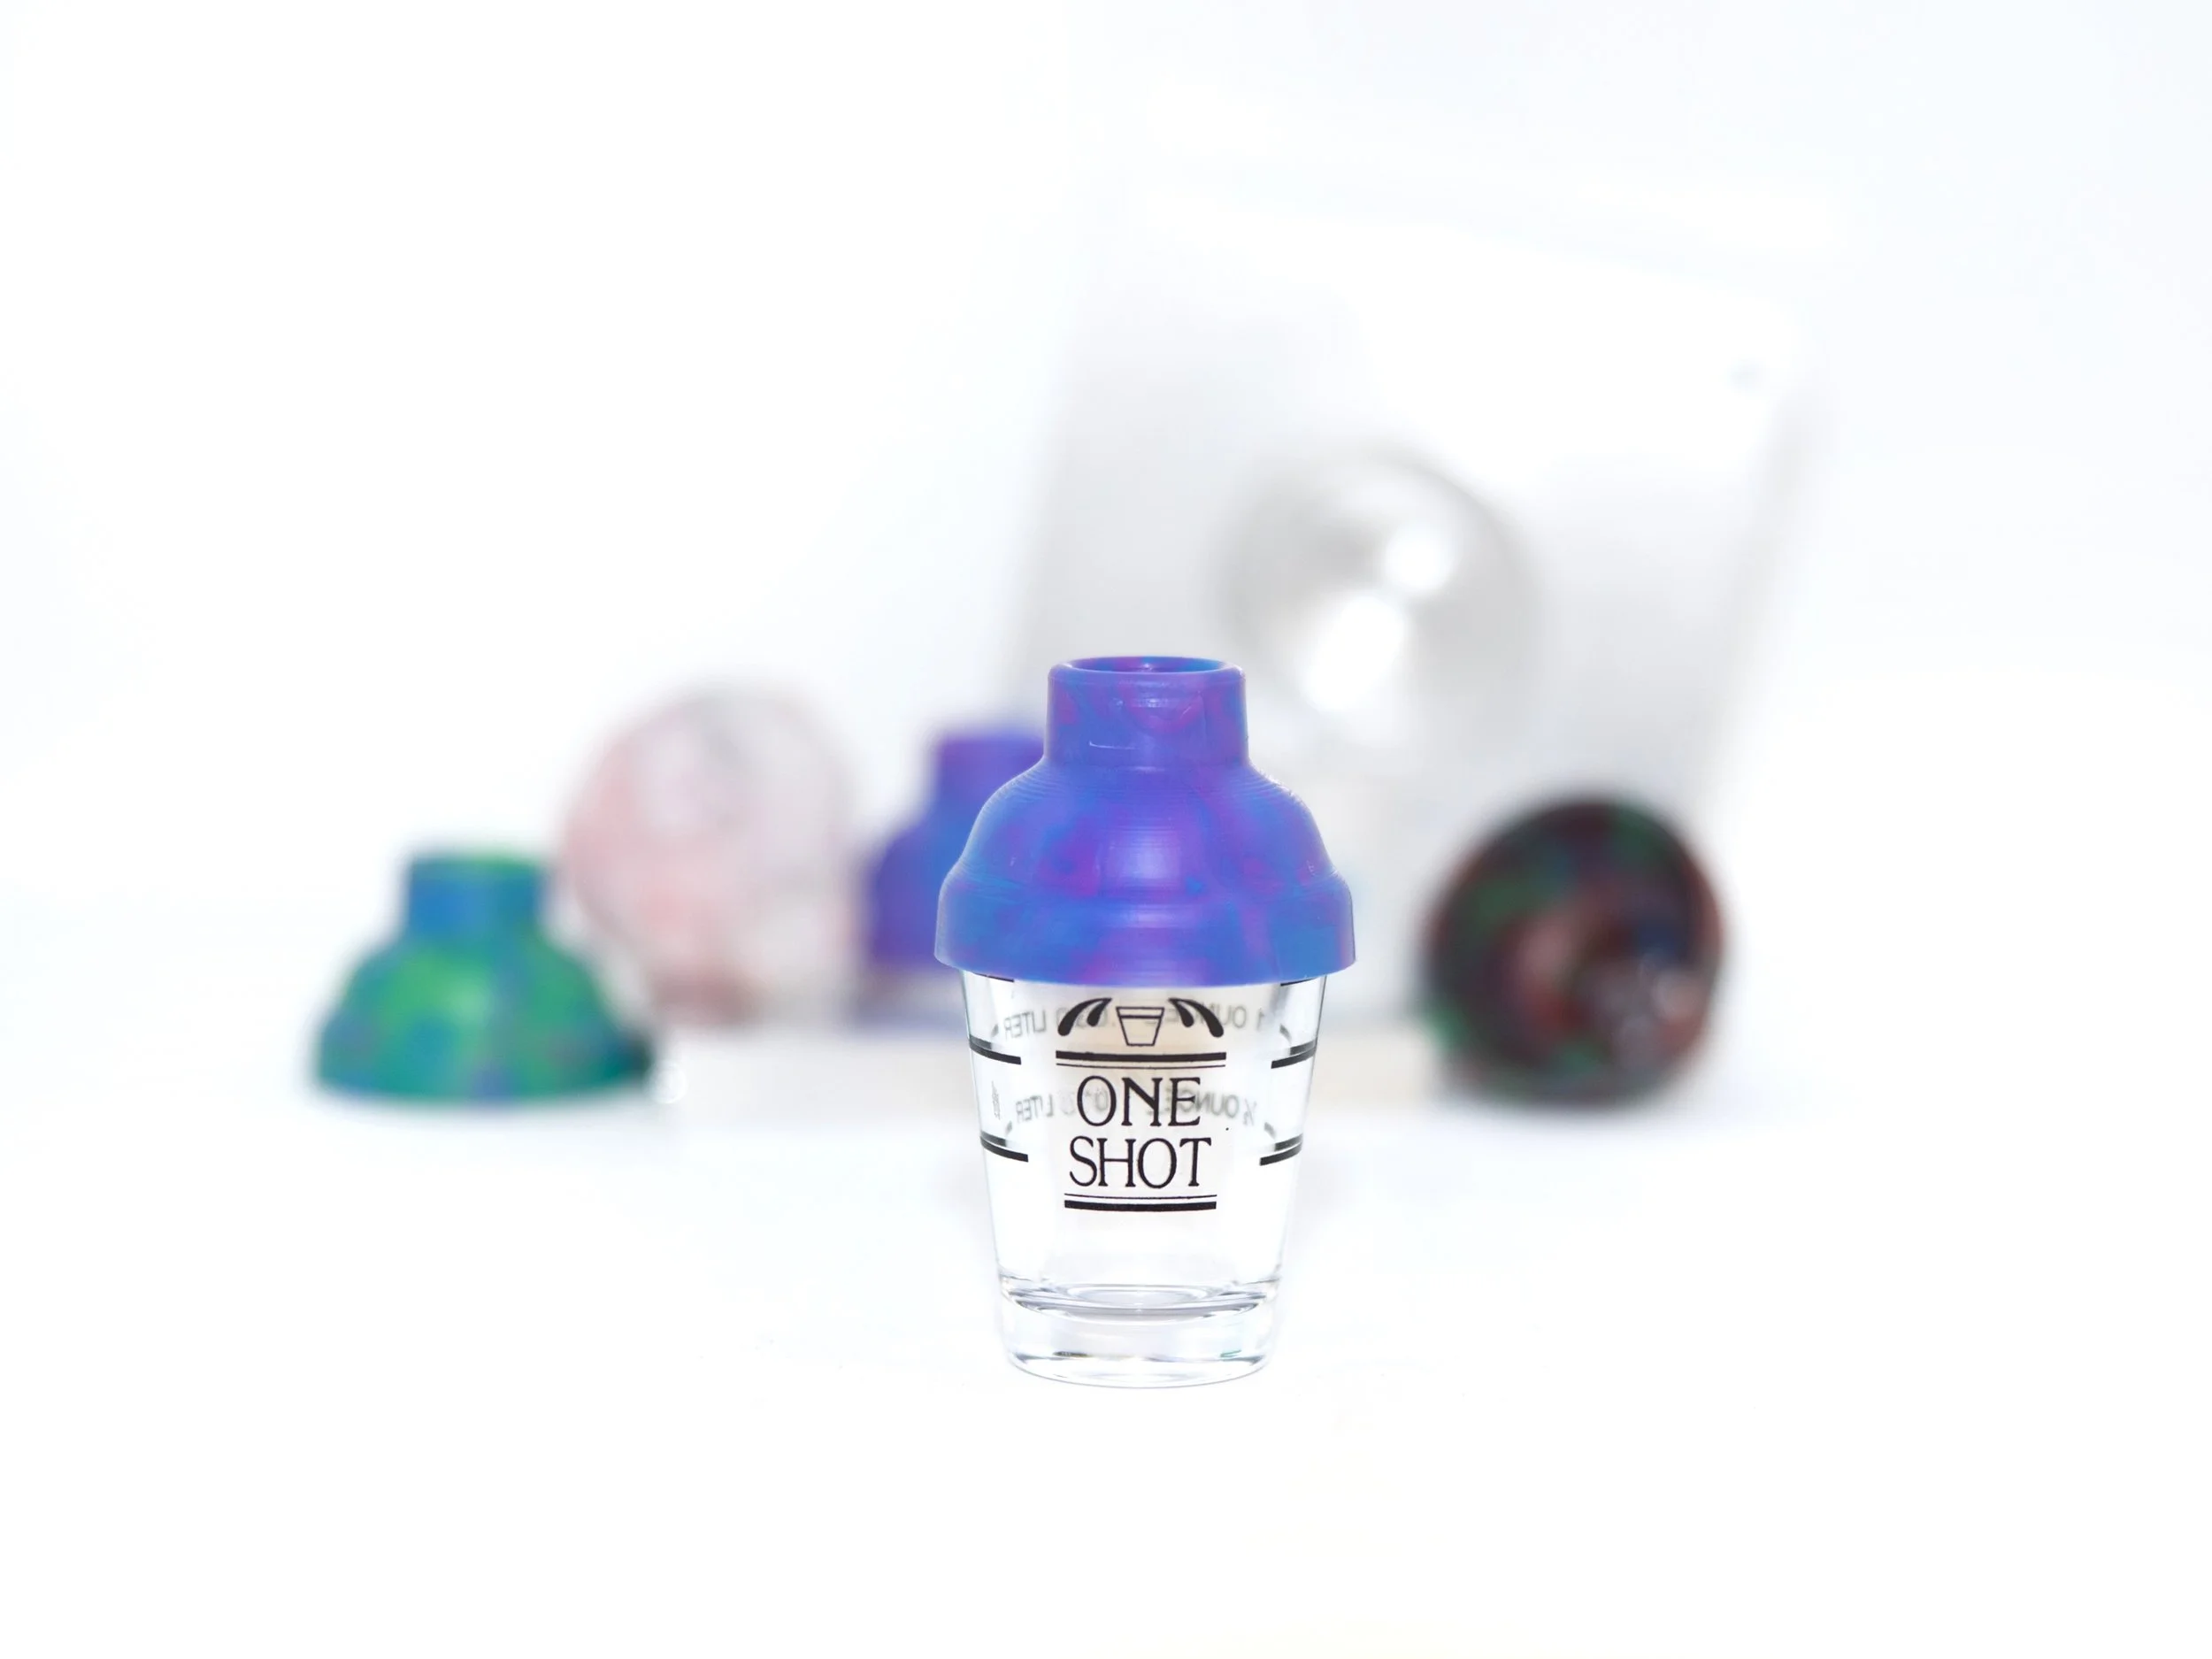
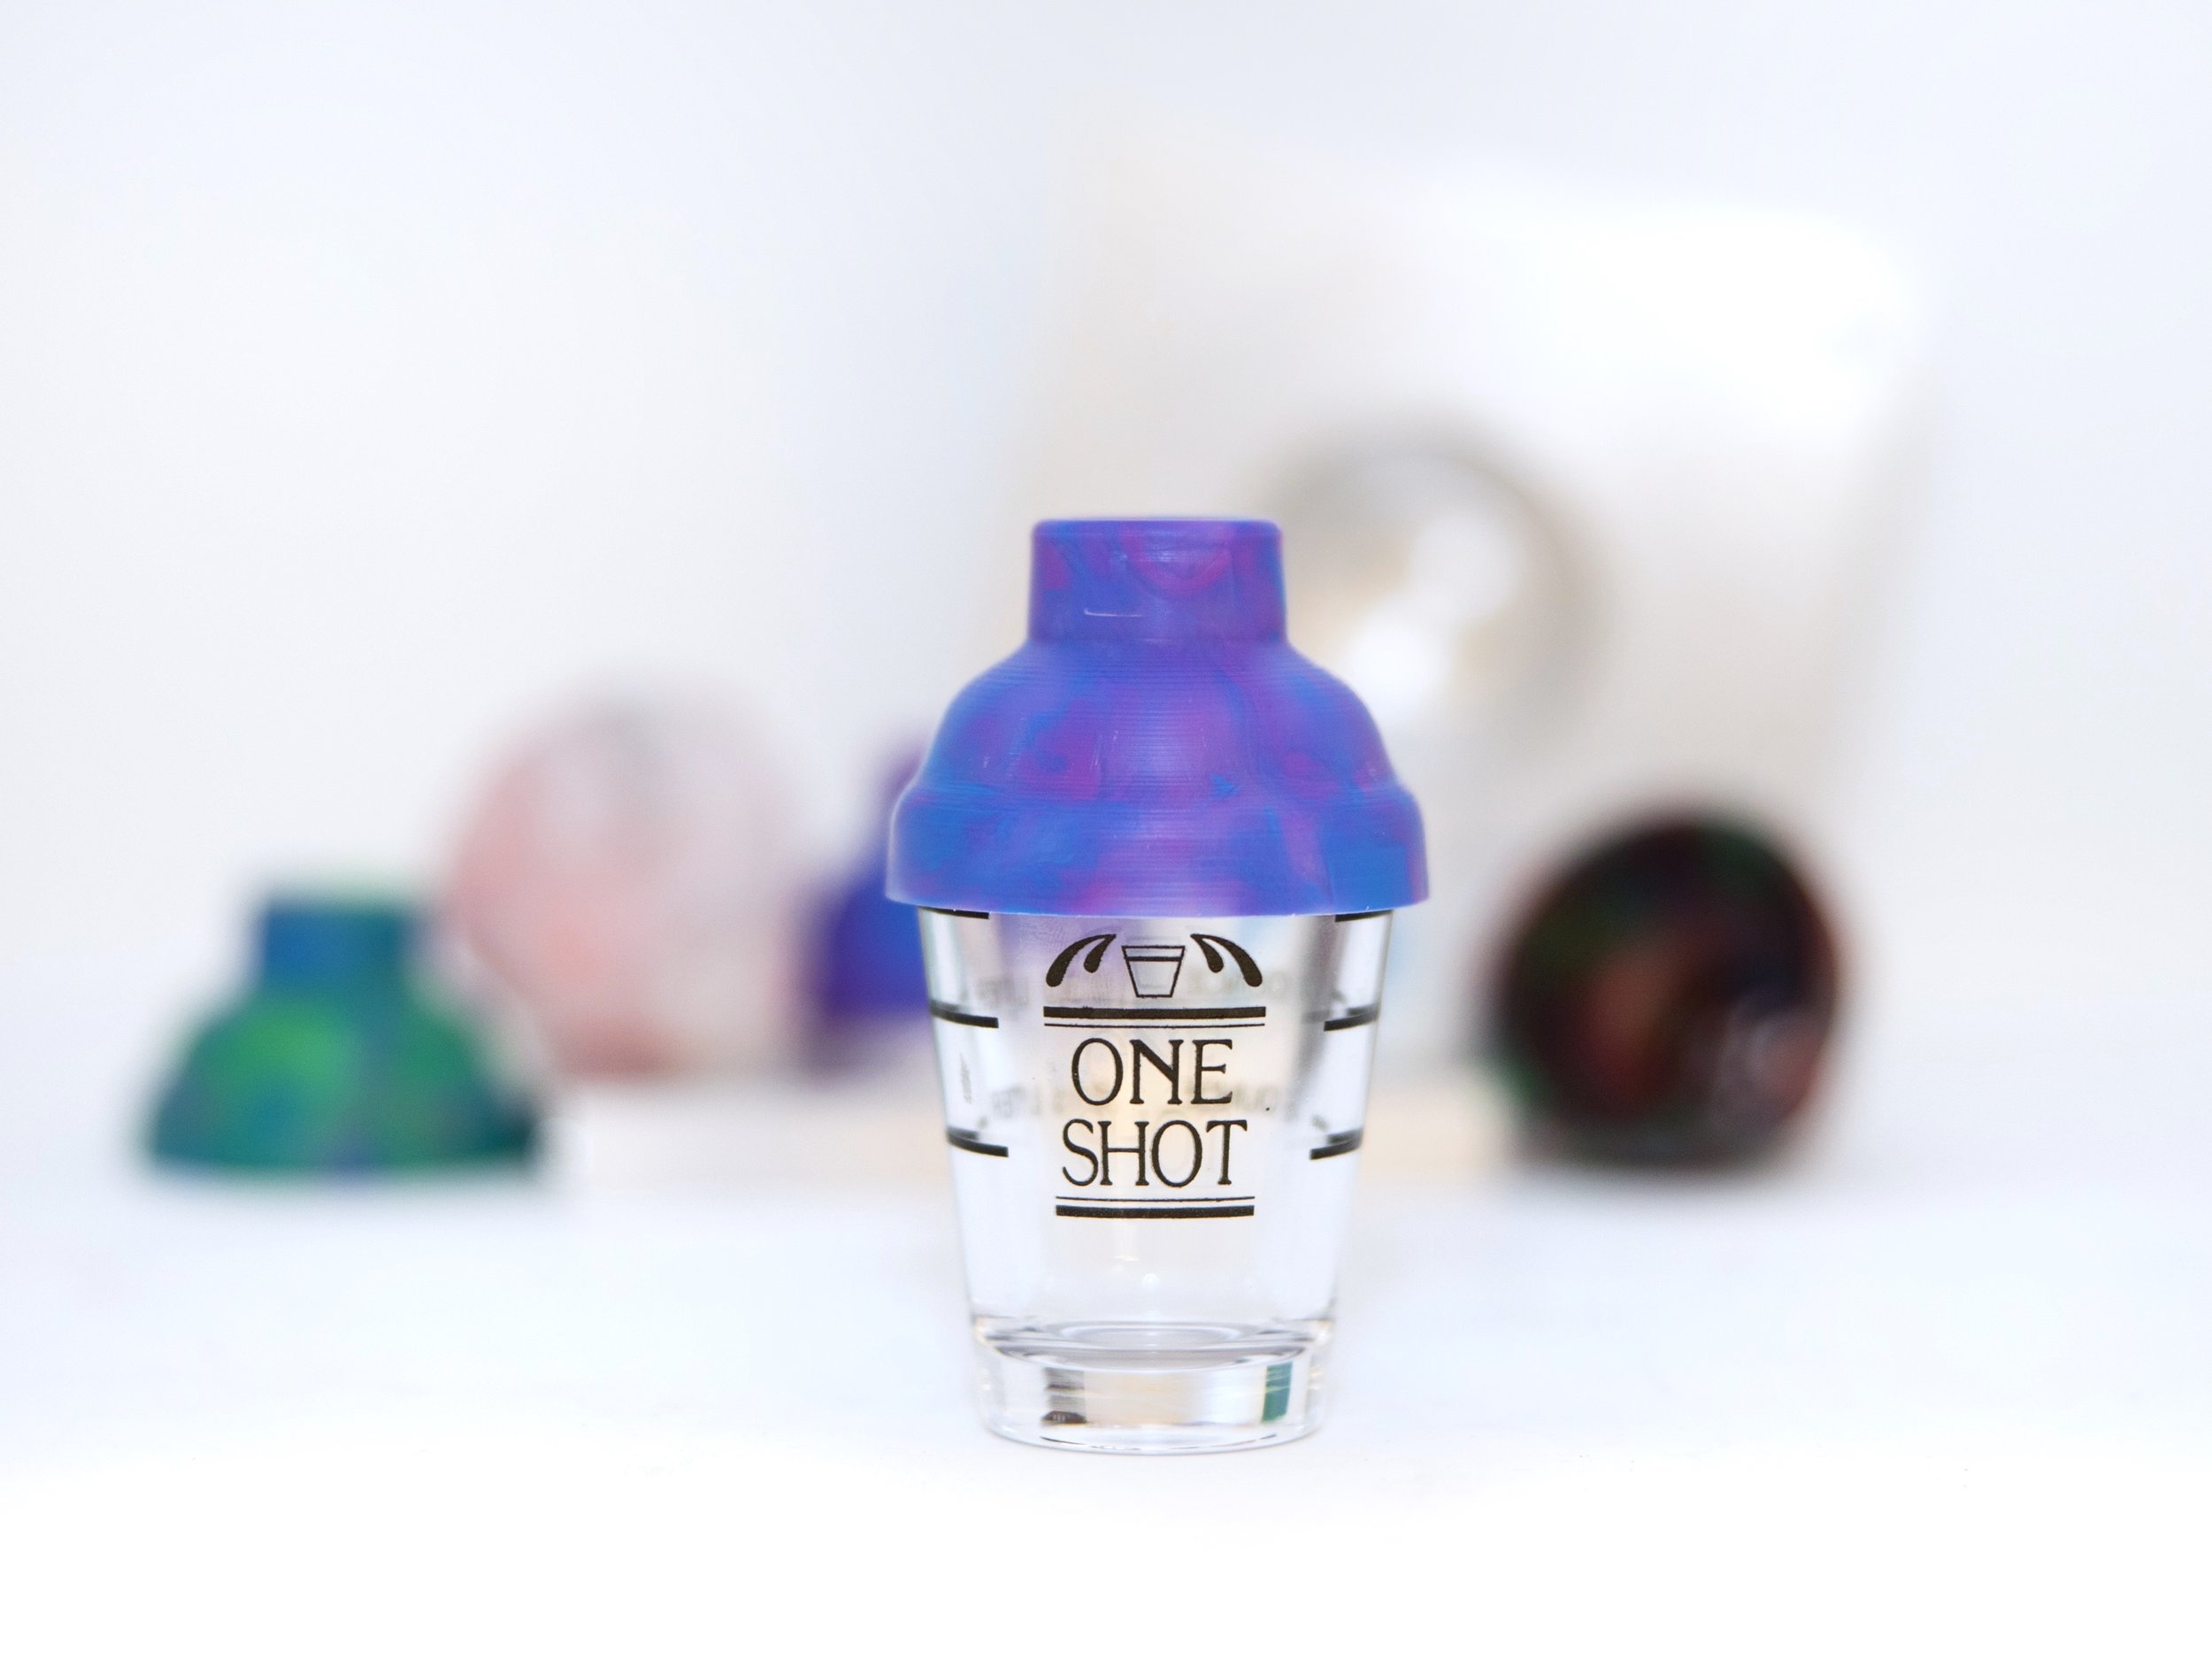
The injection mold was done with polypropylene and several dyes
The final parts were pulled from the mold and then finished on the mill
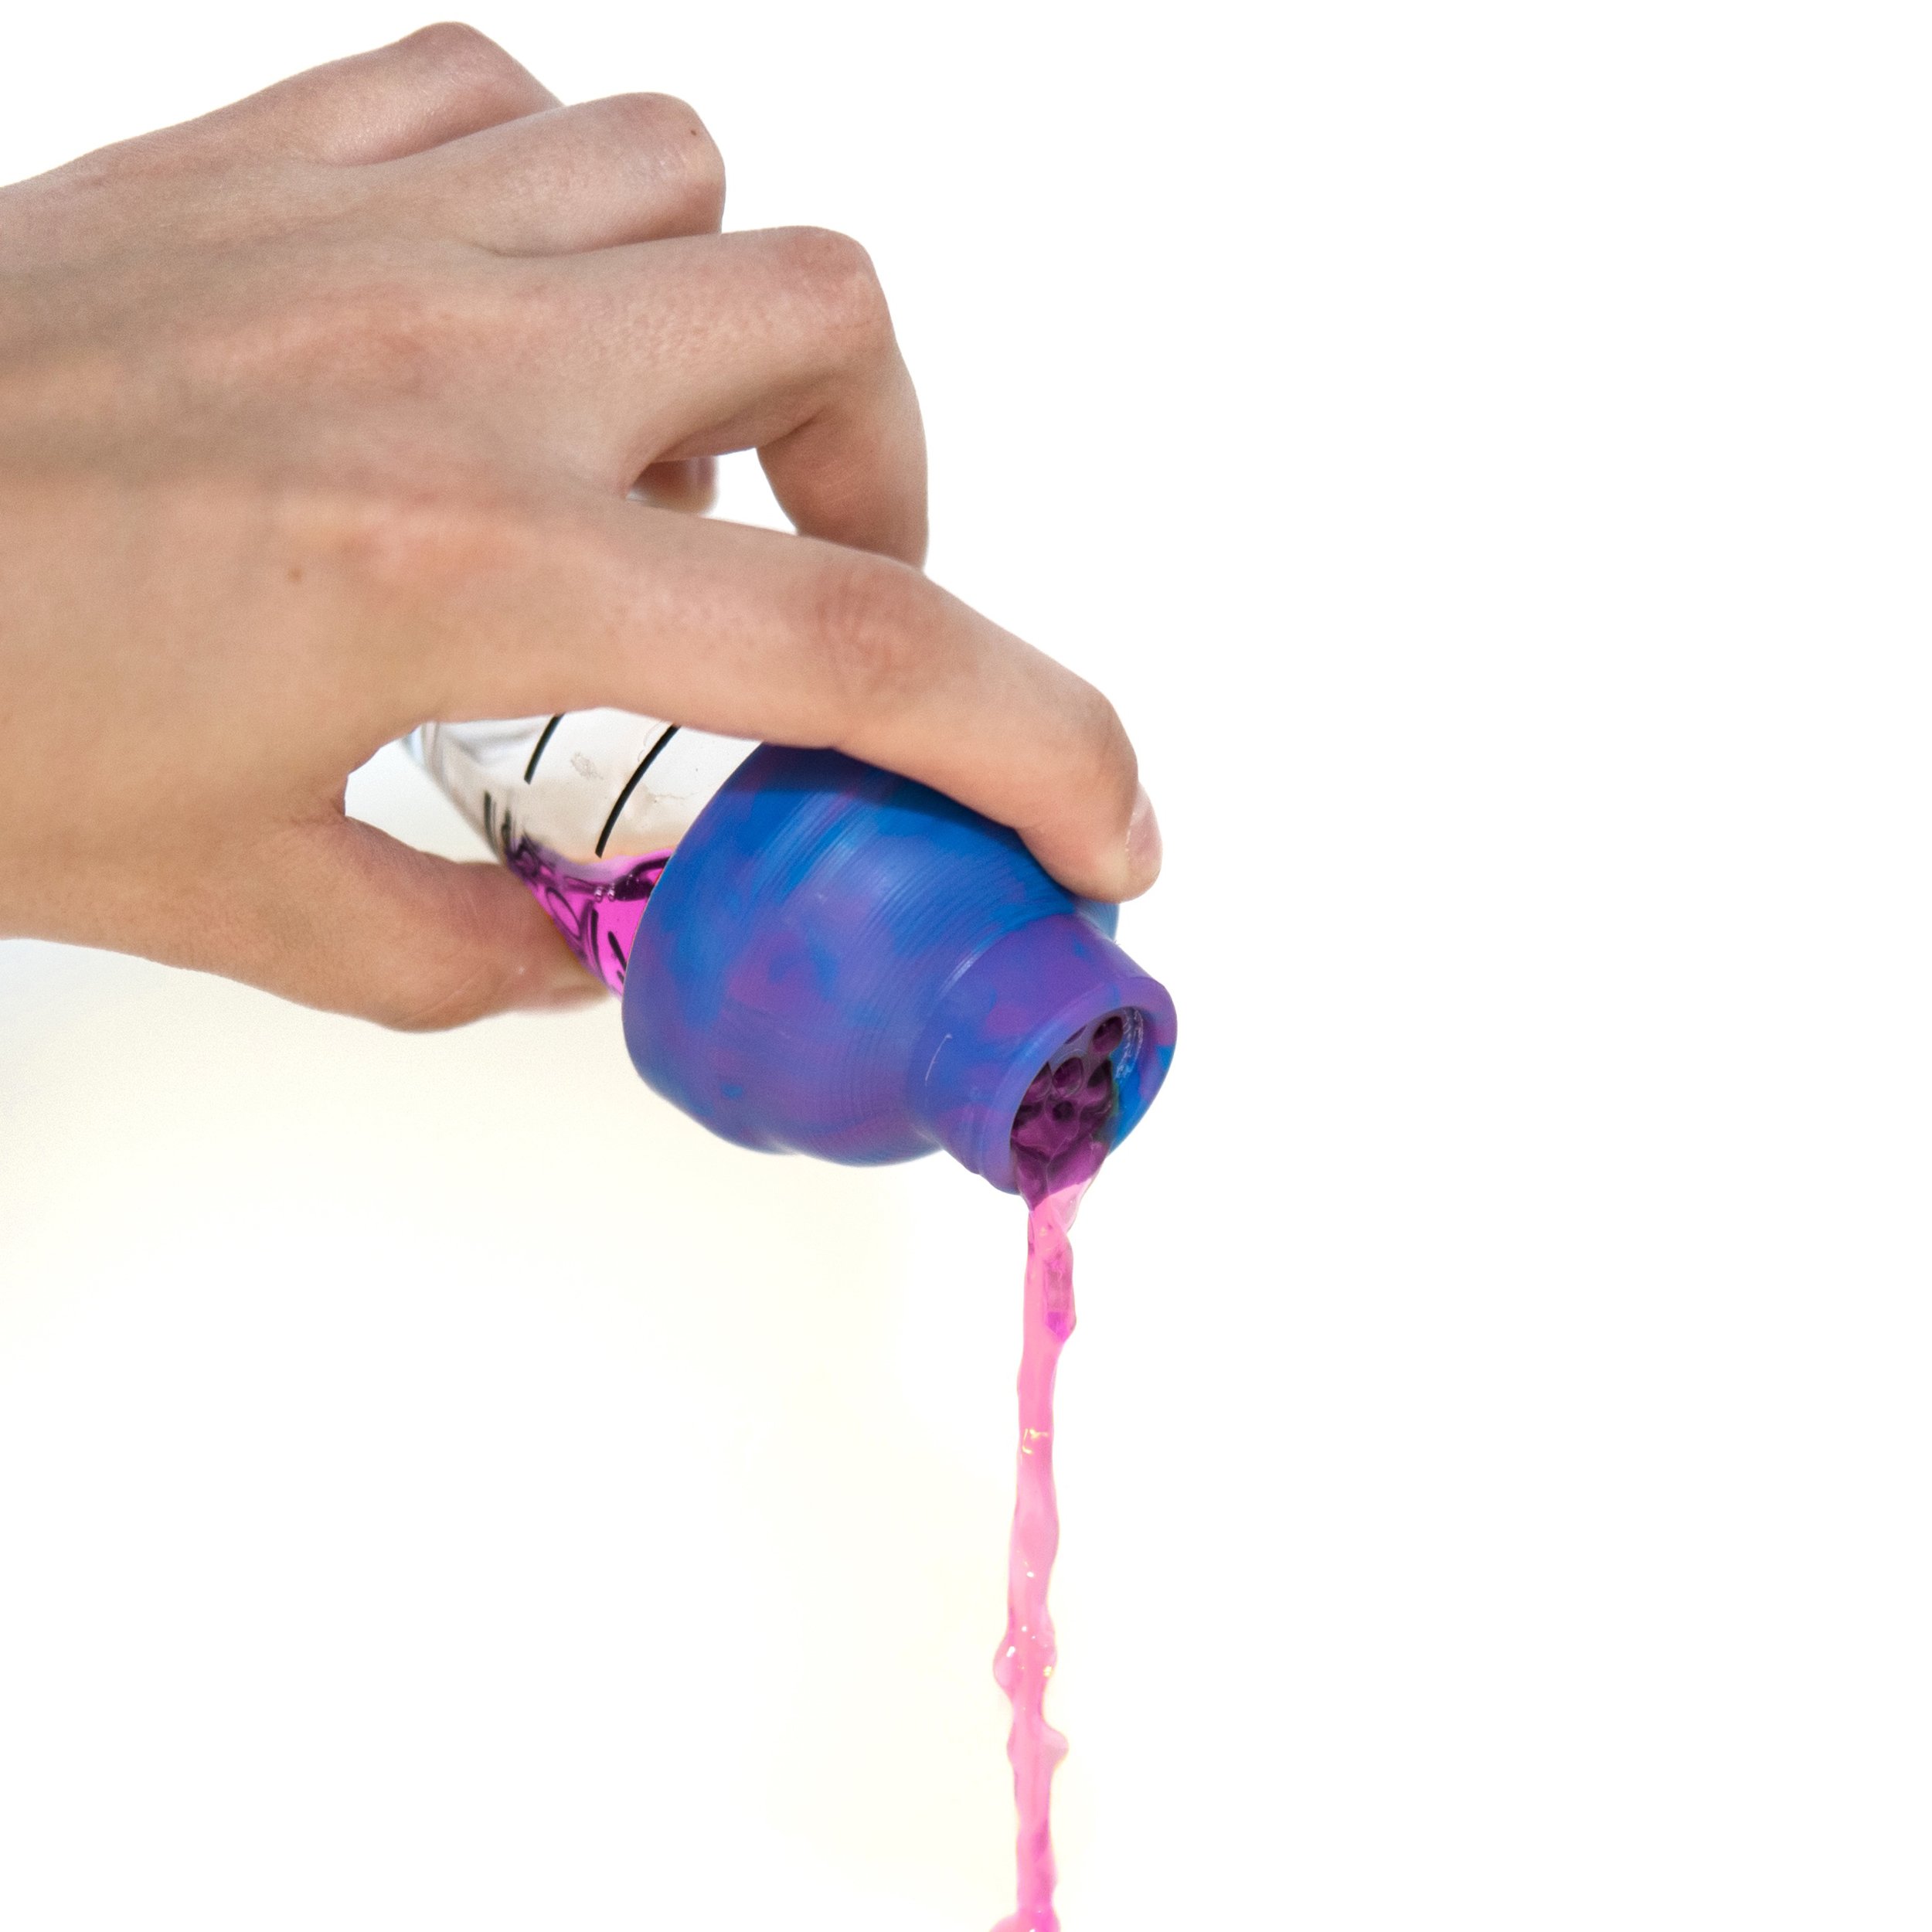
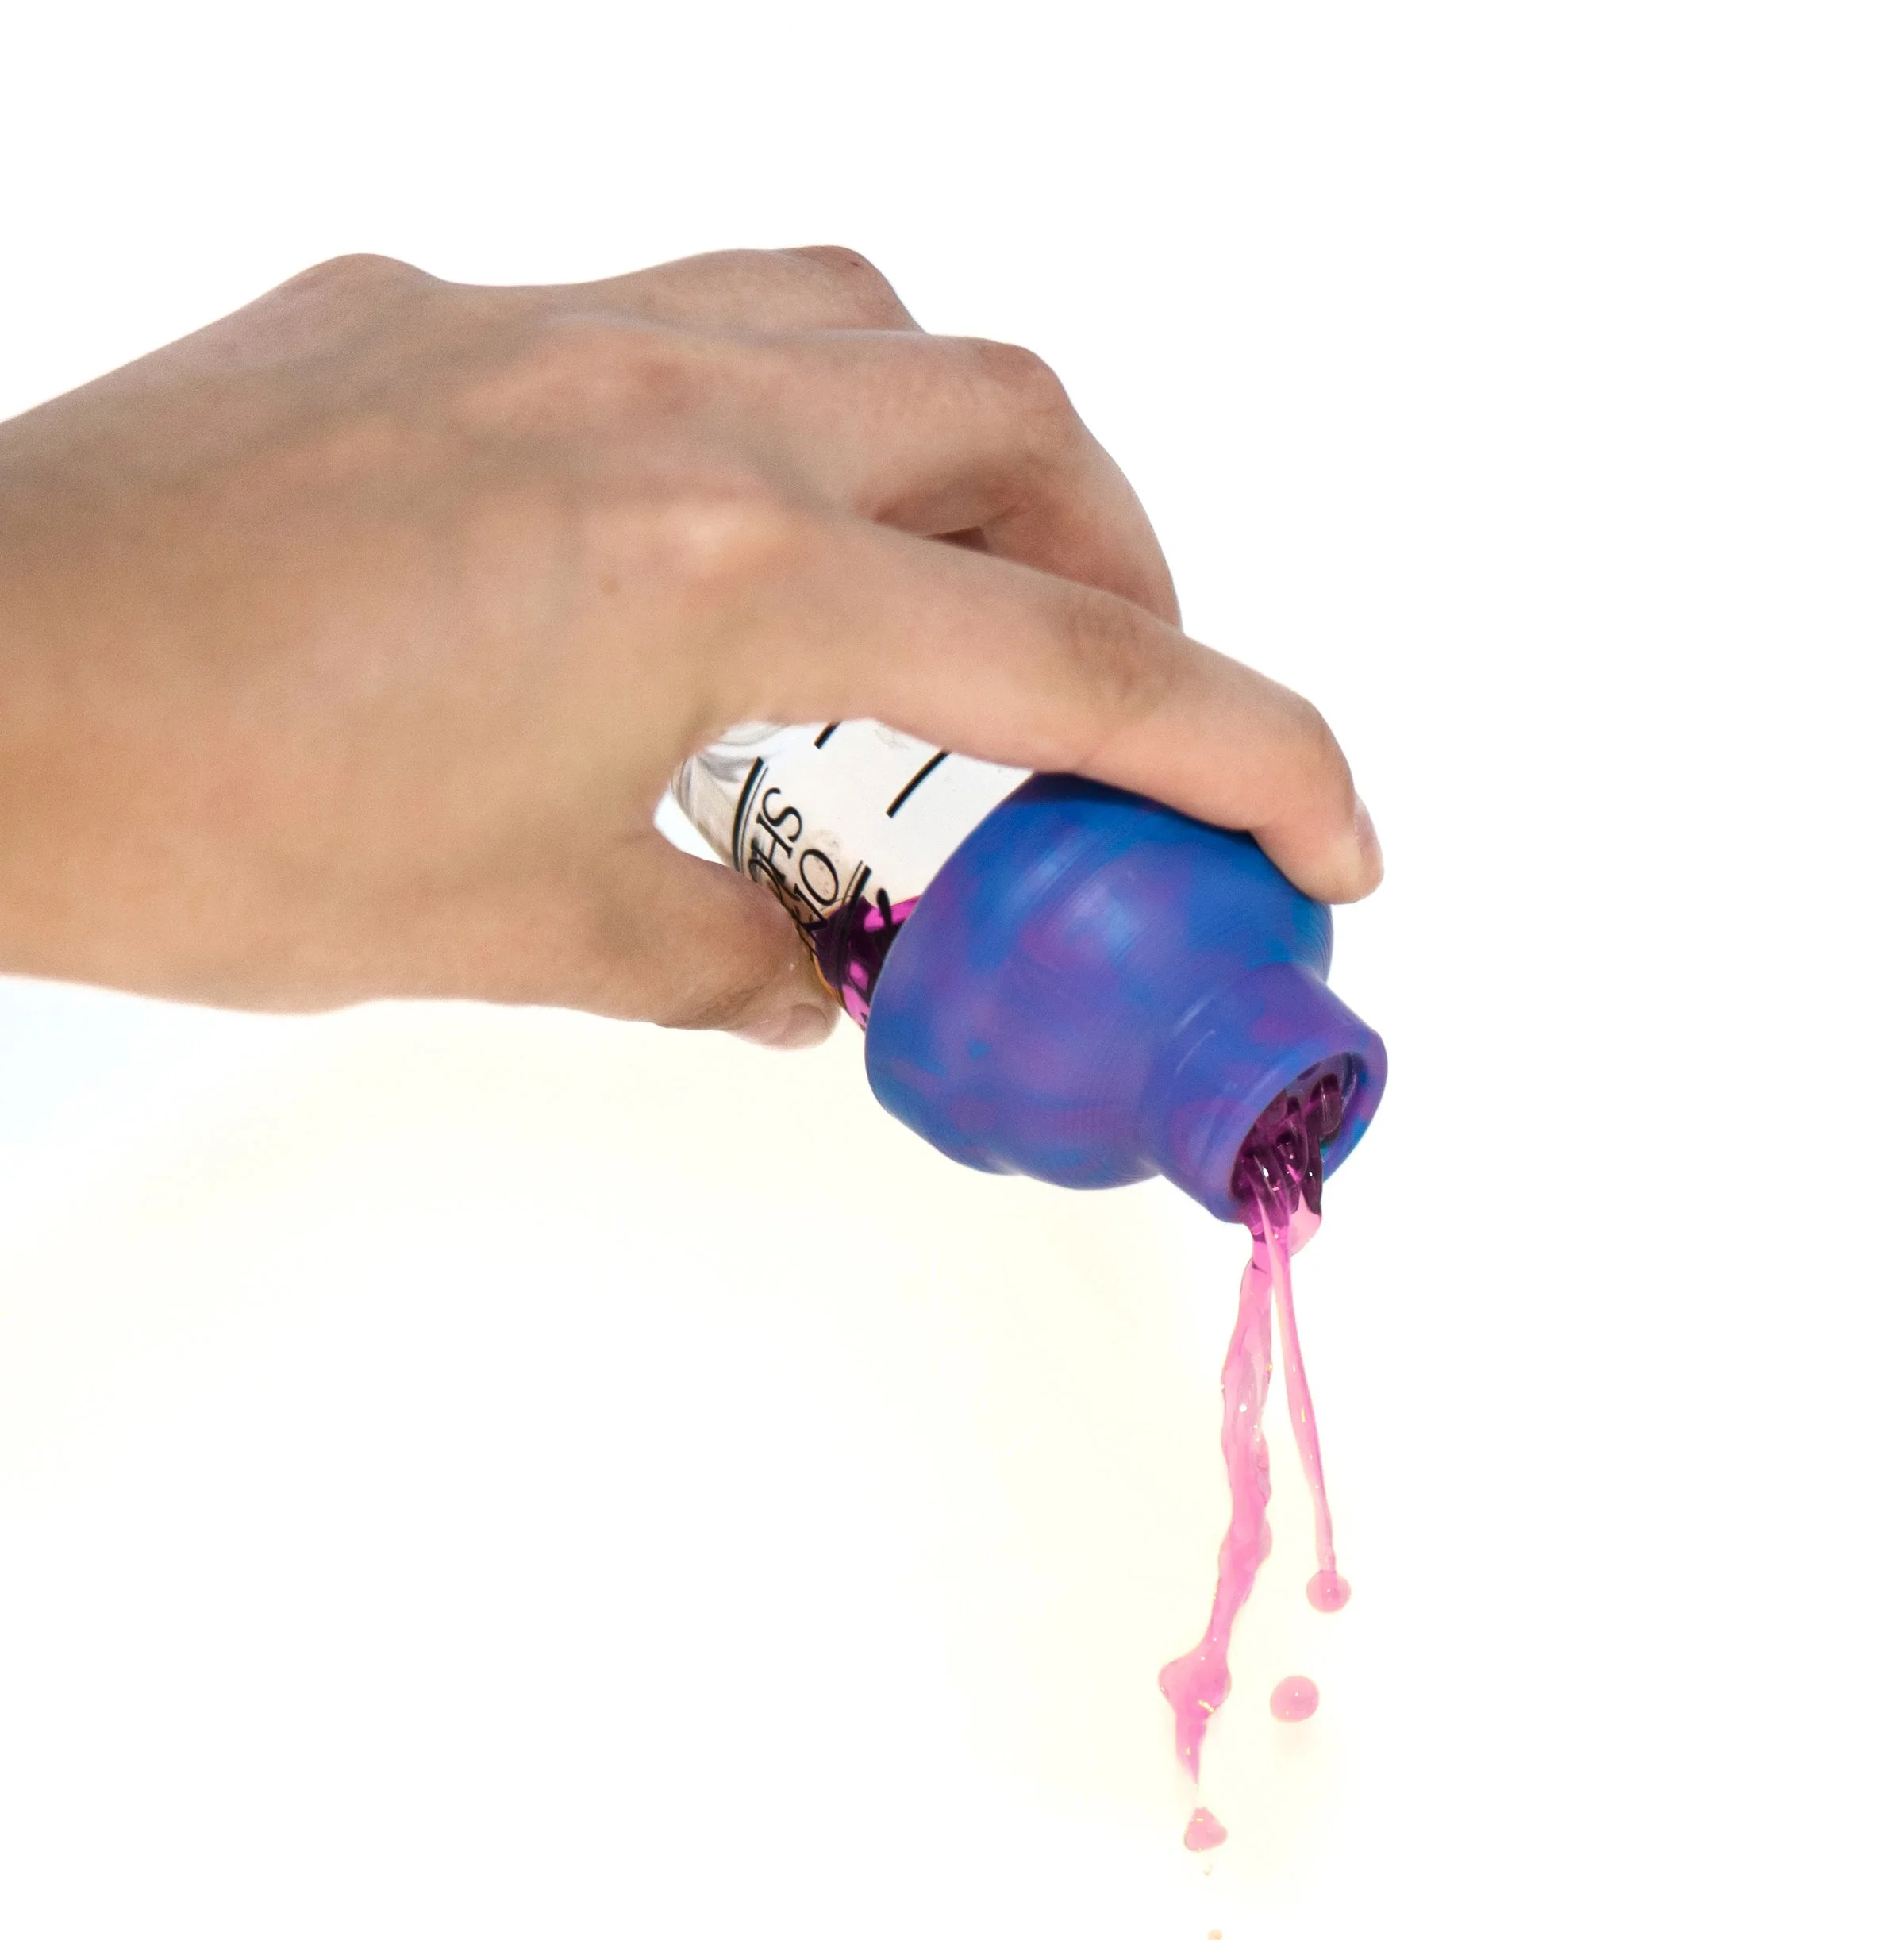
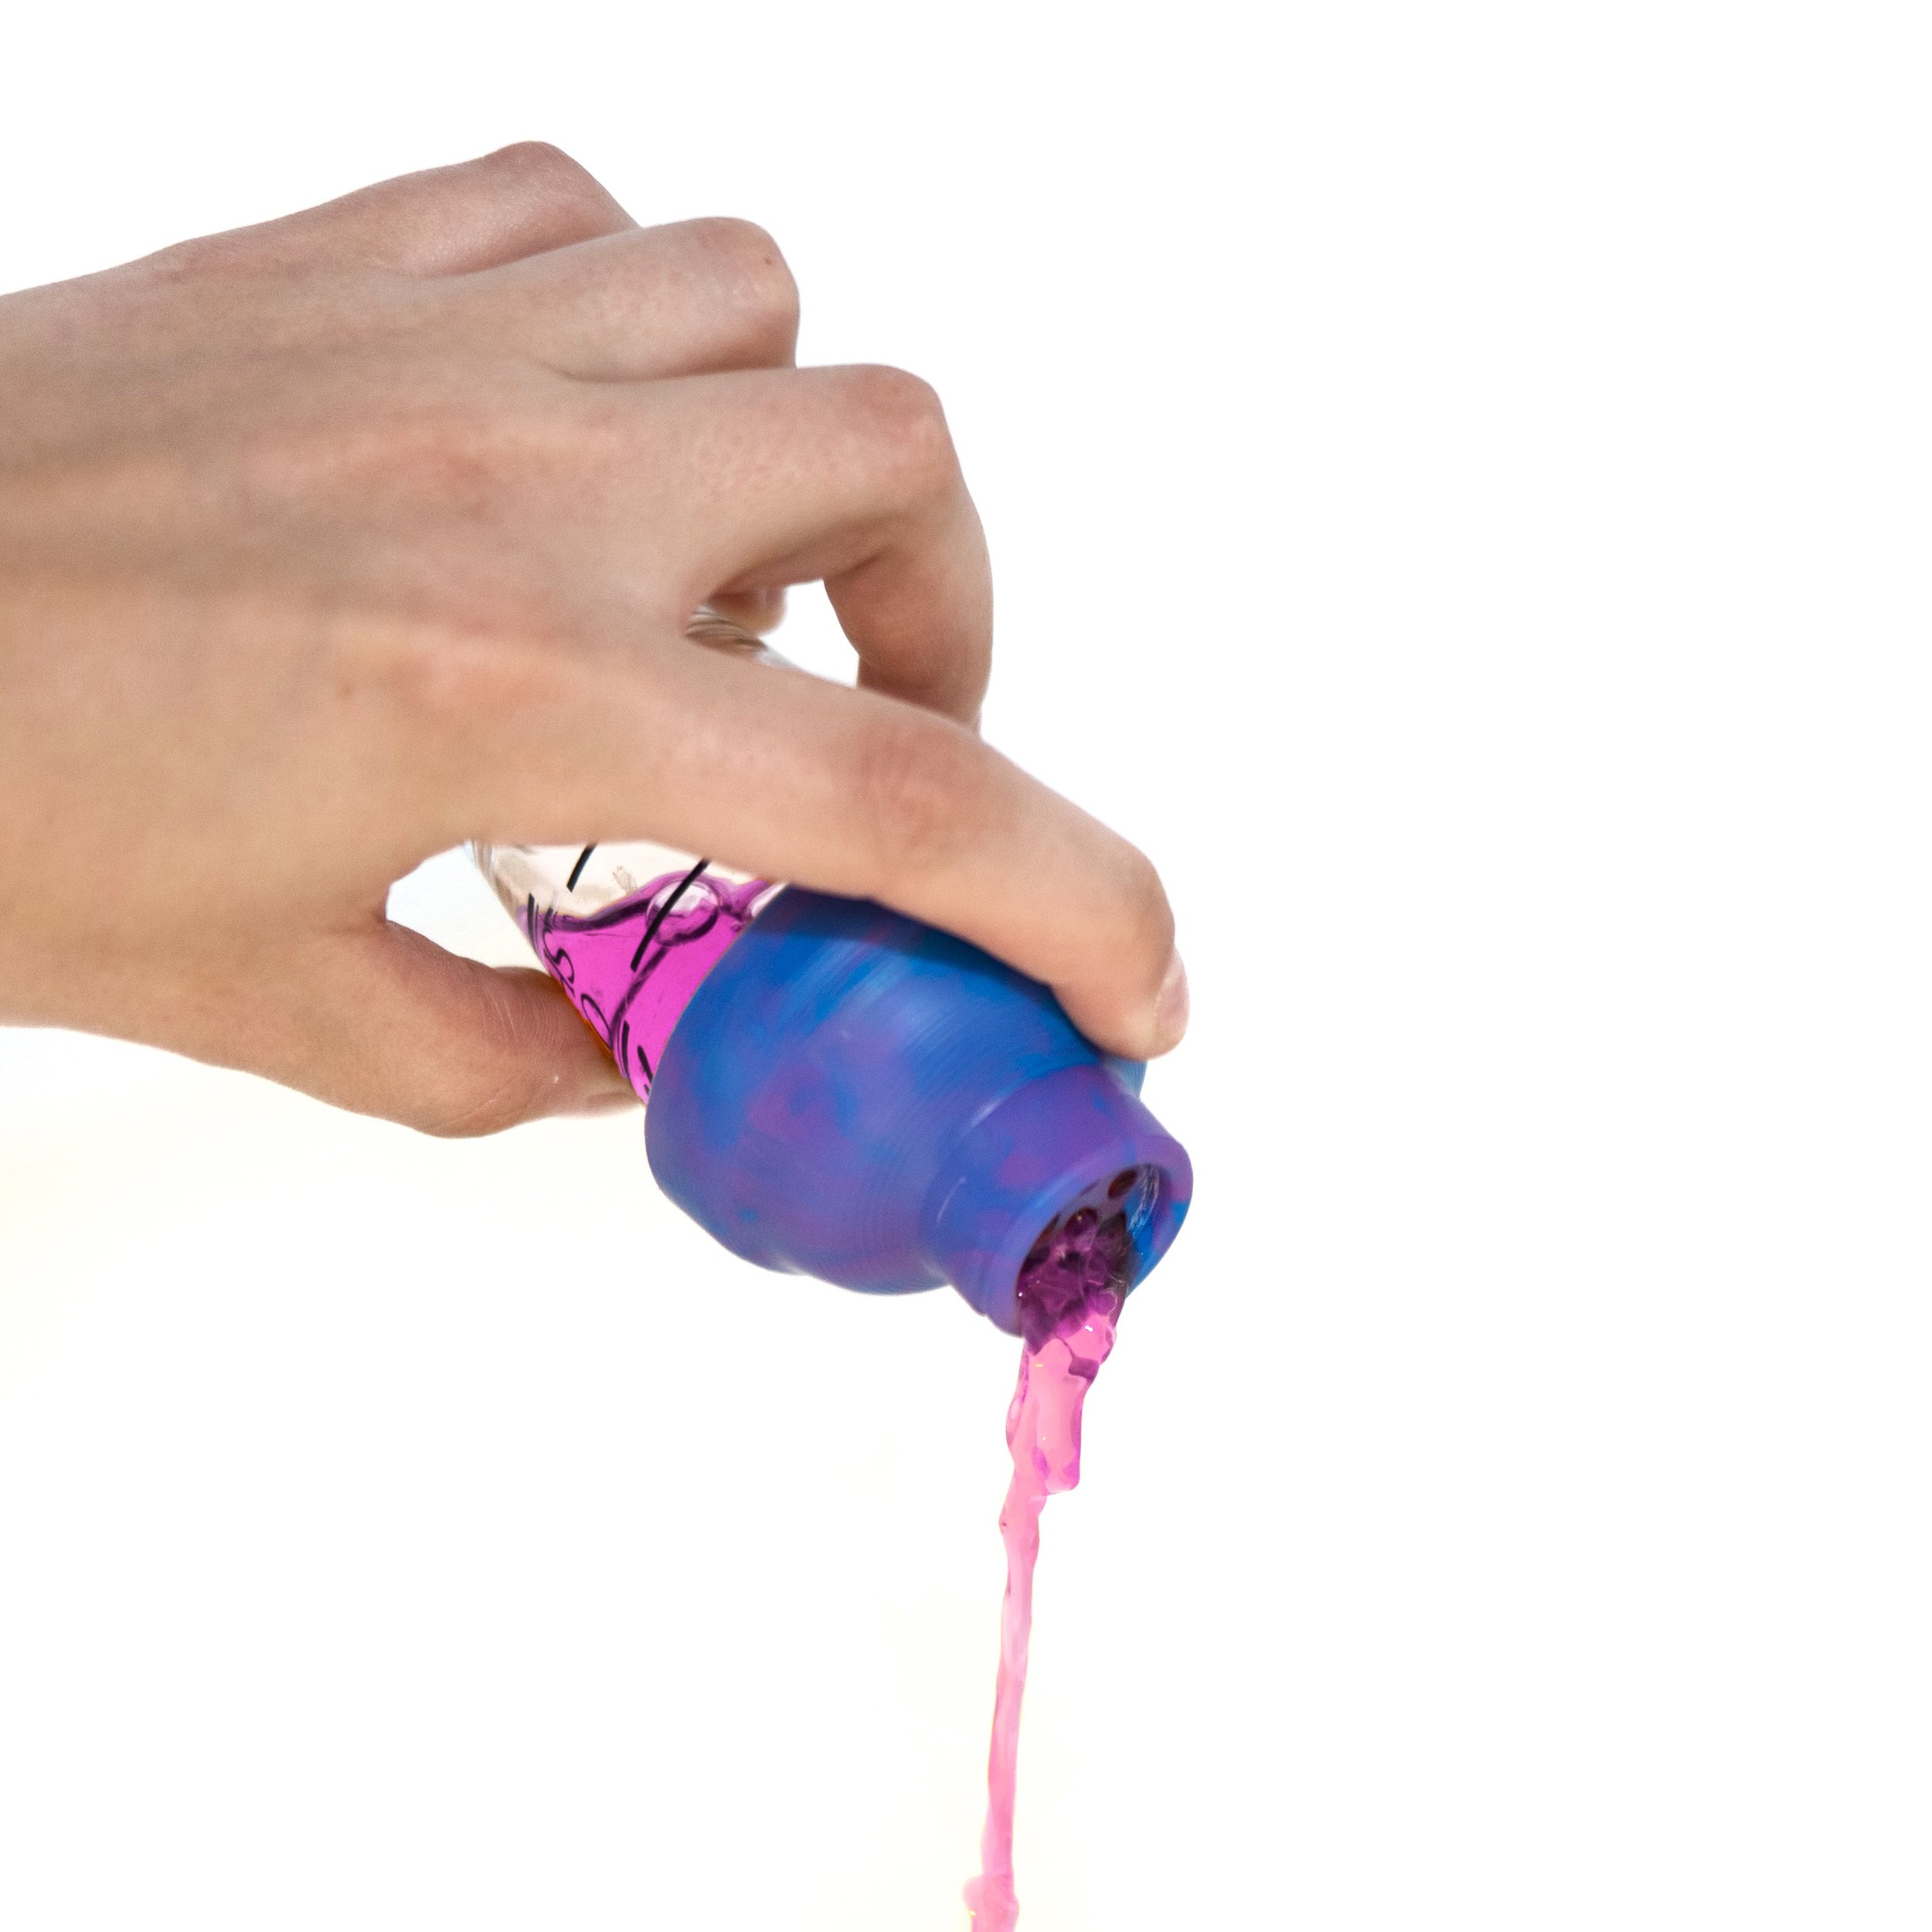
The sprue was removed and a bolt hole pattern was used to add the through holes
The final design was intended to mimic a classic cocktail shaker, but sized for a shot glass
Final Photos
Process Photos
Process Videos
Mastercam Simulation & Post Injection Operations
Still Interested? More details can be found in my final presentation!